Pansies come in many shades of bright Spring Colors; Violet, Yellow and White are shown here to create the "Classic Pansy"
Tools & Materials
Gumpaste, Moss Green, deep violet, white, yellow
Calyx cutter
CelBoard
Rolling pin
Foam pad
Dog Bone tool
24 or 26 gauge wire
Gum glue
Sweat pea petal cutters
Silicone impression
Flower former or apple box carton
Gel color, black
Small paint brush
1. Using Moss Green Gumpaste Cut Medium sized Calyx using Mexican Hat method
2. Using Dog Bone tool, thin and curl tips of calyx
3. Form small closed hook at end of 24 or 26 gauge wire, dip into gum glue and insert into calyx – Allow to dry overnight.
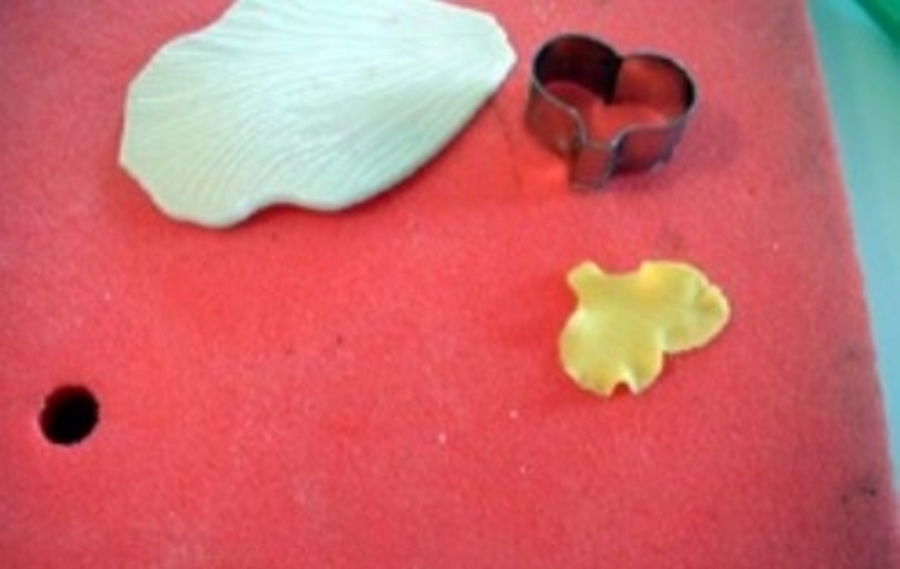
4.Cut 4 Large petals. Impress with veining mat. Thin and softly ruffle the edges.
5. Attach two petals slightly over lapping as shown using Gum Glue.
6. Attach last 2 petals in the same manner overlapping the first set slightly
7. Cut and impress with a veining mat, two smaller side petals. Impress with veining mat, thin edges and attach with gum glue.
8.Cut Bottom petal. Impress with veining mat. Thin and ruffle only the bottom of the petal. Attach with Gum Glue.
9. Pierce holes in the bottom of each indentation of an "apple box carton" to achieve cupped form when dry. Thread Pansy wire through and allow to dry overnight.
10. Add a small upside down "U" of gumpaste to the very center. Using a very fine paint brush and Black Food coloring detail the center of the pansies "face" Steam lightly to set colors.
Victoria Parent is currently a Professional Culinary Chef in TorontoCanada with 15 years Hotel and Restaurant experience. Floral SugarArt and Wedding Cakes became her interest only 4 years ago when she created her very first wedding cake – for her own wedding."I had the basic skills of pastry and baking from my years at the Culinary Academy, but chose to concentrate on Classic Cuisine for many years." "When it was time to order my own wedding cake I really wanted a cake that show-cased exquisite hand made sugar flowers but had difficulty finding anythingI truly loved – so I made my own! I began 3 months before the big day making over 1000 roses, freesia, sweet peas and stephanotis in shades of Pink and Ivory "It was extraordinary, a real labor of love! "That cake is not showcased in my portfolio or anywhere on my website gallery"…"I’ll never duplicate that design again"…." it was created from my heart, for my special day."


Great Tutorial on the Pansies Vik. And I loved seeing your Ladyslipper cake topper again.