When I first began my cake business I made my very first display cakes out of real cake. A total of 6 two tiered and one 3 tiered real decorated cakes for the Cal Expo show! At the time it seemed like the easiest solution as I was not comfortable (at all) with making a non-edible display cake. One of my biggest concerns is that Styrofoam cakes are very light and I cringed at the thought of fighting the cake to stay still as I worked to decorate it.
As time has gone on there have been a number of occasions such as shows during a busy week and photo shoots that I was forced to deal with that issue. I absolutely had to make a non-edible display cake. So I talked with Janis at Every Baking Moment who is a wealth of knowledge and seller of all-size Styrofoam cakes. I incorporated her input of adding hardware to the foam cake from underneath to add weight.
So read on and check out this simple step by step method for creating your very own Styrofoam display tiered cake.
Materials:
Cake foams
Matching cake carboards
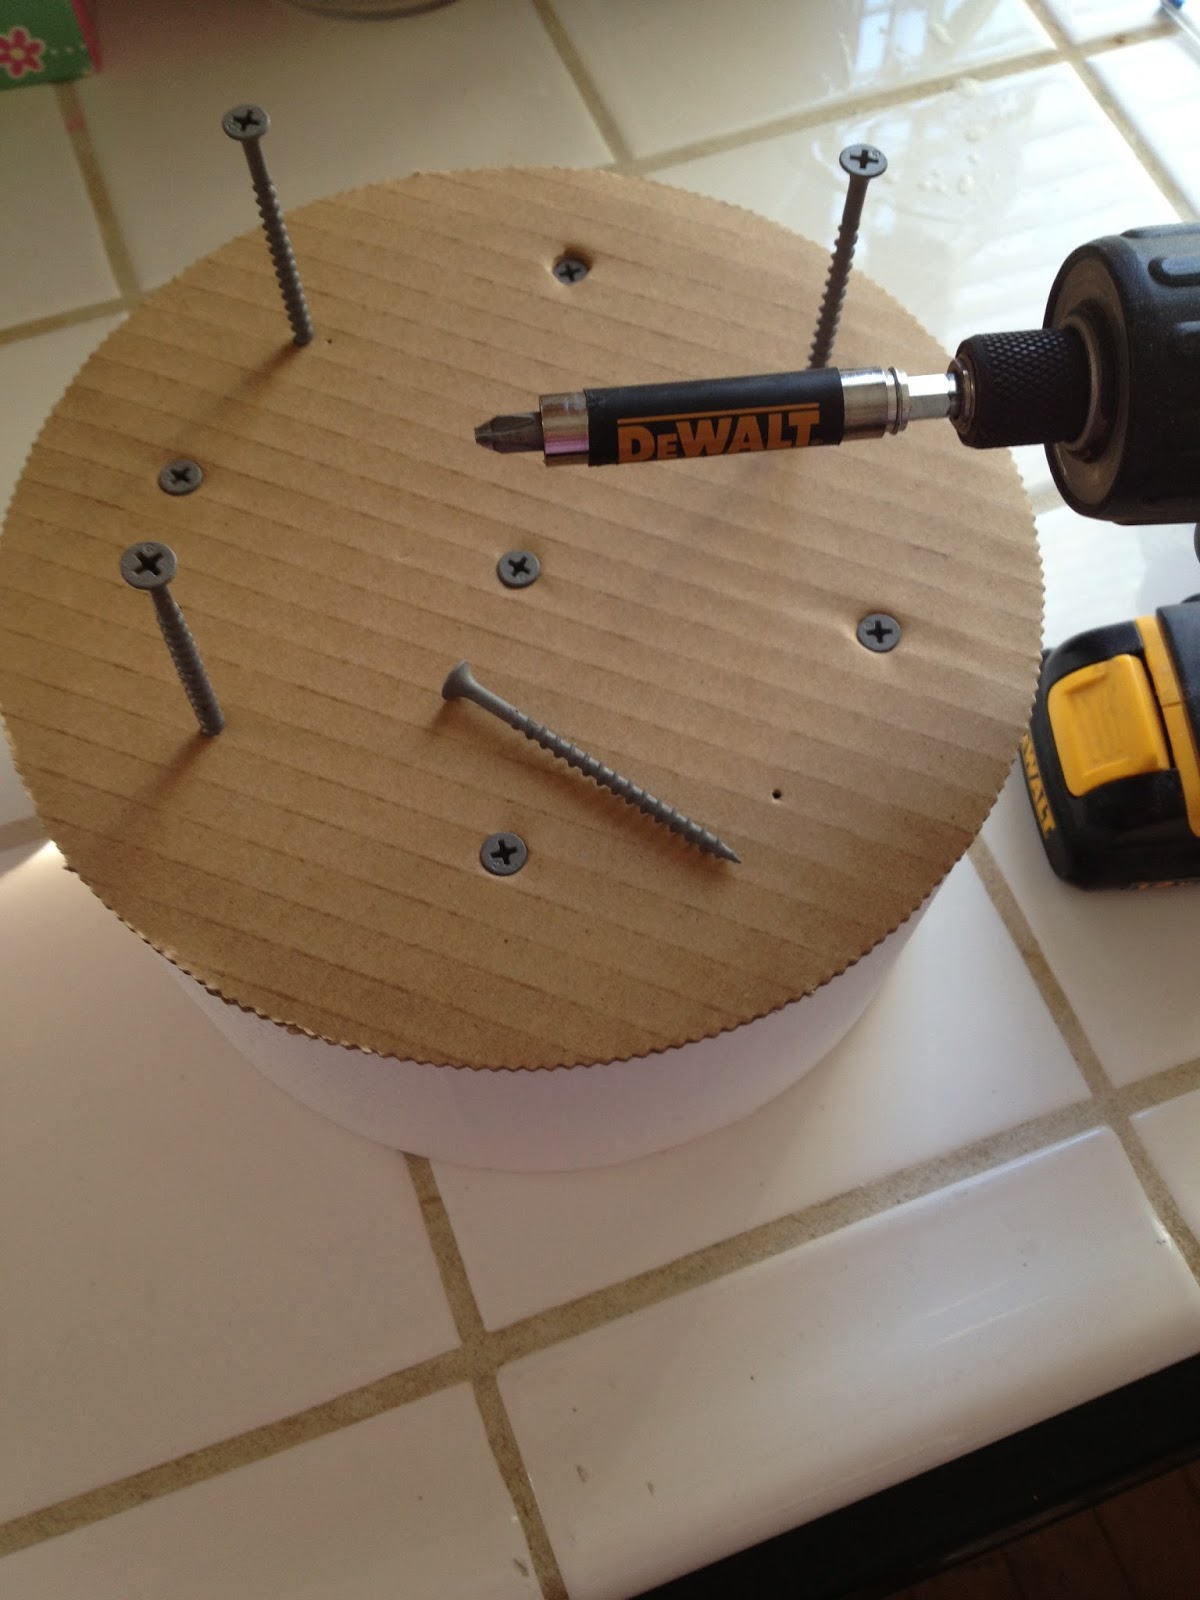
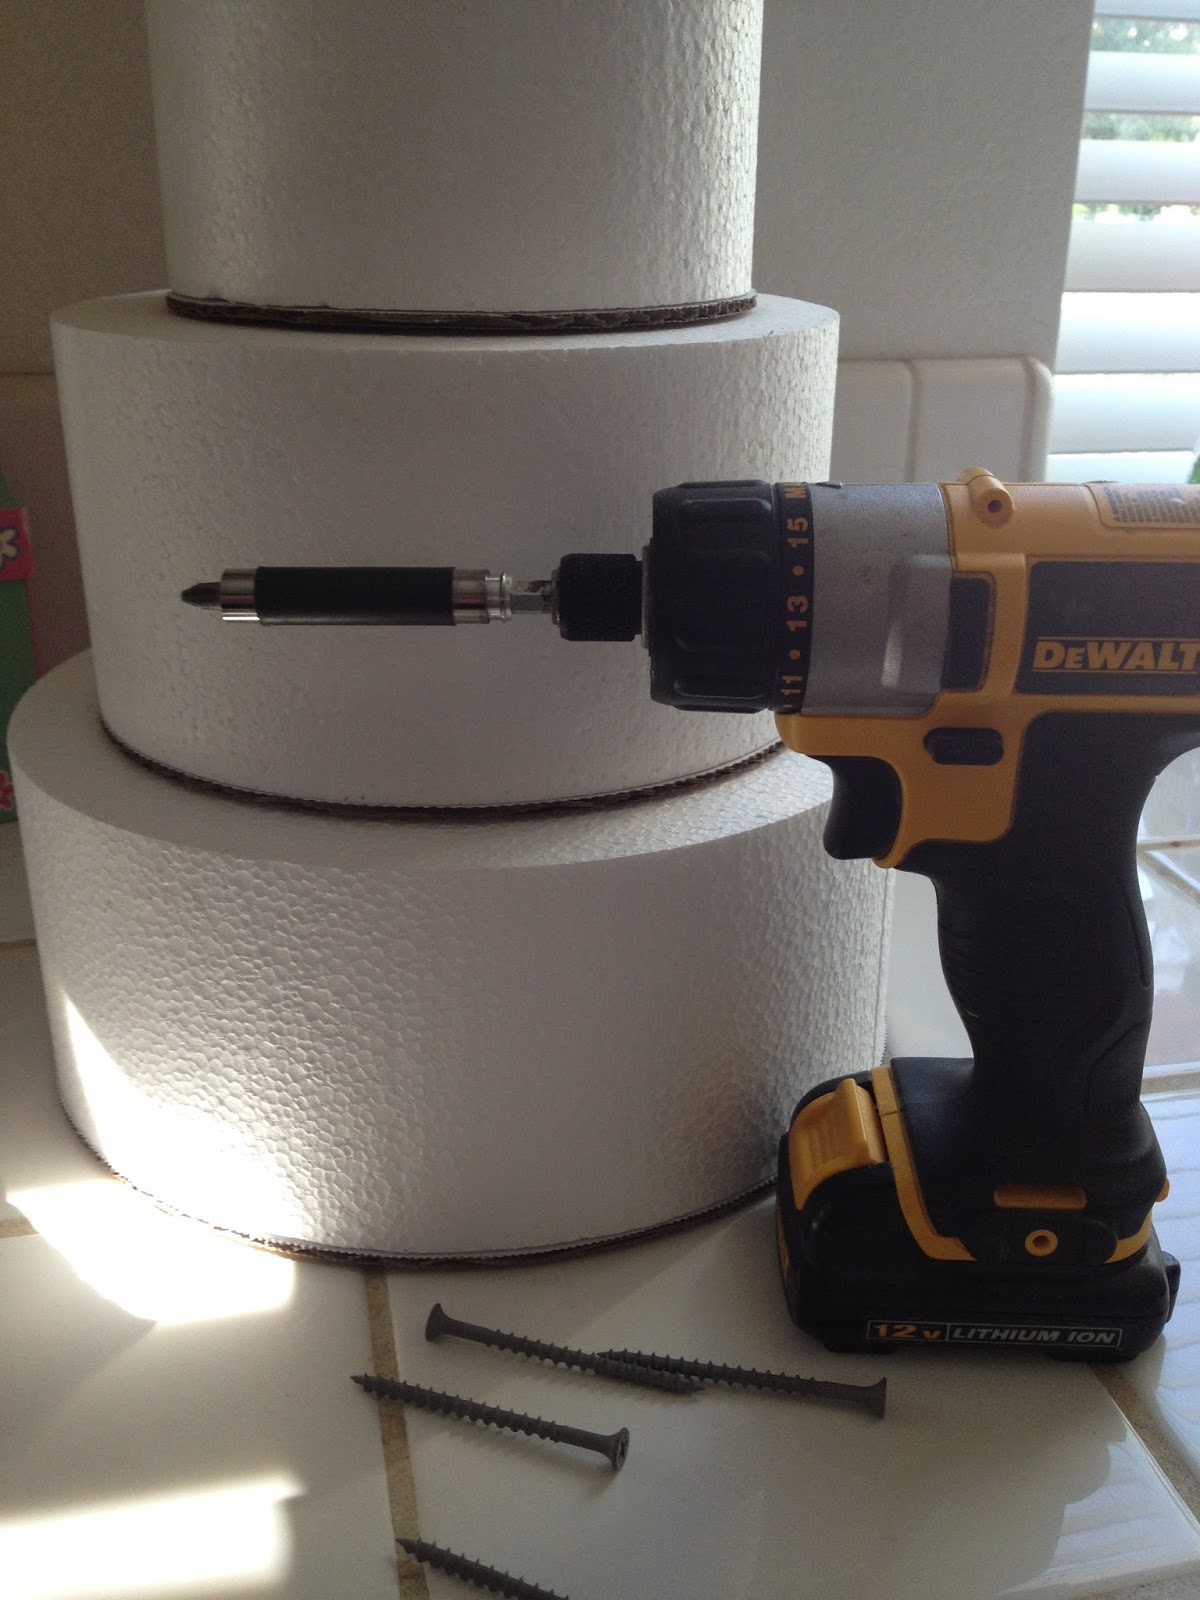
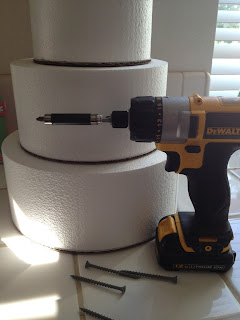
Wood screws with a flat head and 2-3 inches long
Philips screwdriver or drill (I love my impact driver shown here)
Desired decorating materials

Step 1
Take each Styrofoam cake tier and matching cardboard and screw in wood screws using your screwdriver, drill, or impact. I like to space them out evenly around the perimeter and one in the center. It's really not for stability but more than anything for weight. Also be careful not to push too hard as it will tear right through the Styrofoam rather than grip it, but of course it's not a big deal if you do either. Repeat for each Styrofoam tier you are planning
 Step 2
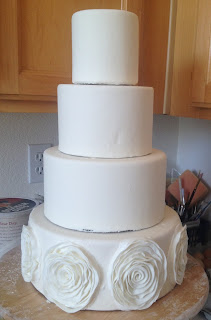
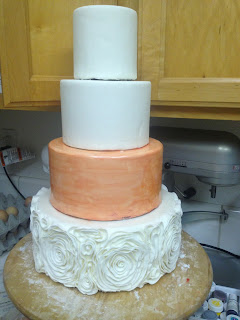
Prepare each tier with base decor. I love to used fondant here (I have yet to make a smooth buttercream version!). Cover each cake as you normally would a regular cake with fondant. I have found covering the tier with shortening is a nice way to adhere the fondant to the foam. Stack all fondant covered Styrofoam cake tiers using water or piping gel. I like to use water brushed onto the cardboard from the tier above. The tier will be 'adjustable' for about 5 minutes and after a while the fondant tier will adhere completely. I did make a rosette display cake and to stack those tiers I inserted small nails head down on the bottom tier and pushed the tier above it onto the protruding nails (and I didn't use a cardboard with that one either since this style was decorated as it was being stacked).
Step 3
Once cakes are covered and stacked finish it with the detailed decor
Step 4
And after (hopefully not too many hours later) decorating you are done!