


i used 10" square, cut in half and stacked (i believe i had 5 layers). i used a teaspon to scoop out the holes that run along the sides/corners. i placed in freezer to harden up a bit, then carved it down so it was tapered at the bottom like the character. i iced it, then i covered in fondant panels for the font back and two sides (didnt feel like fighting w/one big piece). instead of circles for the holes, i used my small rolling pin and lightly pushed it into the fondant. it worked really good and it was really easy and gave it more dimension that doing flat circle cutouts. for his legs, i used bendy straws cut down a bit and then covered in fondant. for sand i used Nilla Wafers (the though of brown sugar on my cakes just isnt appealing), and it really looked like sand. his hat is a sugar cone, lightly brushed with piping gel then covered in fondant. the "poof" ontop of the hat is a ball of fondant that I snipped with scissors to give it that fluffy look. HTH.
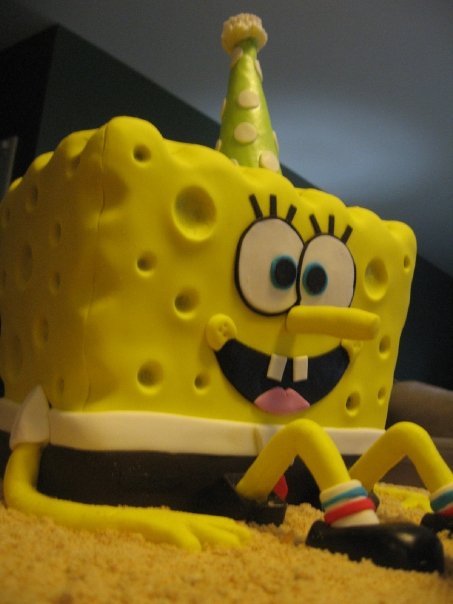
oh yeah...also, use supports -- dowels or tea straws. bob will be tall and if he doesnt have proper support, he might end up laying face down in the 'sand' ![]() i put two dowels on each side, and one long one going thru the entire thing. i also put a cake board under my two top layers (so that it was easier to cut - and it wasnt a 12" slide of cake. lol).
i put two dowels on each side, and one long one going thru the entire thing. i also put a cake board under my two top layers (so that it was easier to cut - and it wasnt a 12" slide of cake. lol).
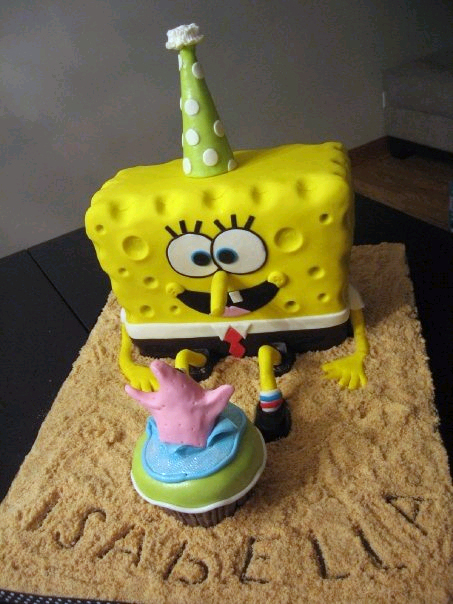
Here is a very good tutorial by CakeFixation. I used this as my starting point when I made my "bob" and it was helpful. good luck.
http://cakefixation.blogspot.com/2009/08/how-to-make-sitting-spongebob-cake.html
Quote by @%username% on %date%
%body%