


Here Are My Tassel Instructions!!! Muah!
Decorating By sadsmile Updated 1 Jun 2013 , 9:56pm by janetbakes

Here are my instructions for making a tassel so now it won't be a hassle!
1
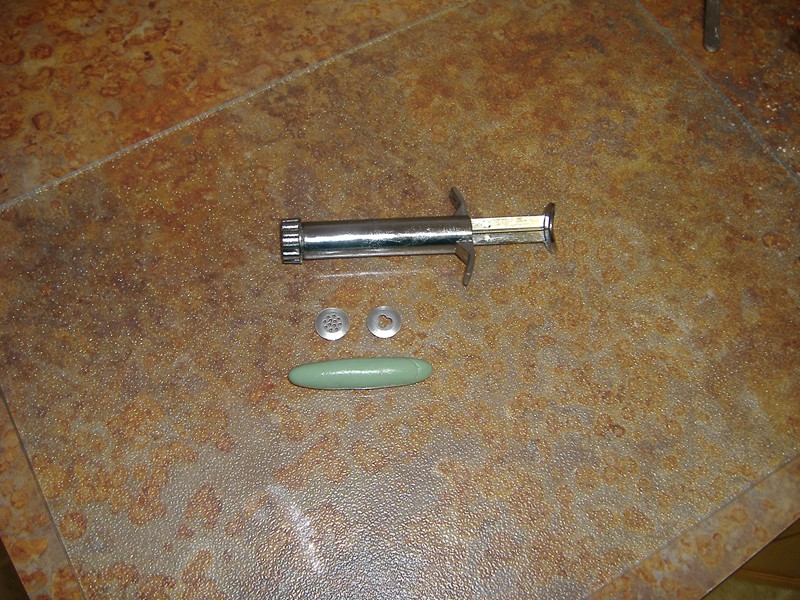
Fondant, Clay extruder and die disks I used.
Prepare fondant for using with a clay extruder. Practice till you reach the desired constancy for smooth extrusion. 2 parts fondant to 1/2 a part extra shortening worked into the fondant is approximately what I used plus a little more to fully lube the extruder barrel and die disk before inserting the fondant.
Prepare a catch plate for your finished rope by greasing well with shorting and have a piece of cling wrap ready to cover to prevent drying out.
Work the fondant so it is super soft like melty bubble gum consistency that stretches out and falls out of shape easily when pulled between your hands like stretching taffy. Add more shortening if needed. Roll into a thick cigar small enough to slid into the barrel of the extruder and work your extruder as per it's instructions.
With continuous pressure holding your extruder about two inches above the plate squeeze out the rope and let it fall gently onto the prepared plate while guiding it to fall in lines going back and forth across the plat till you have enough rope. The rope will want to fall in a cornelli type shape and you need to be careful not to let any of the rope touch it's self or it will stick and be unusable if you can not separate it. When you have enough rope lightly cover with the cling wrap to prevent drying out and leave it to stiffen up a bit for a few minutes so it will be easier to handle. I didn't take a pic of this but it looks like one huge skinny snake all over the plate like the centipede game.
2
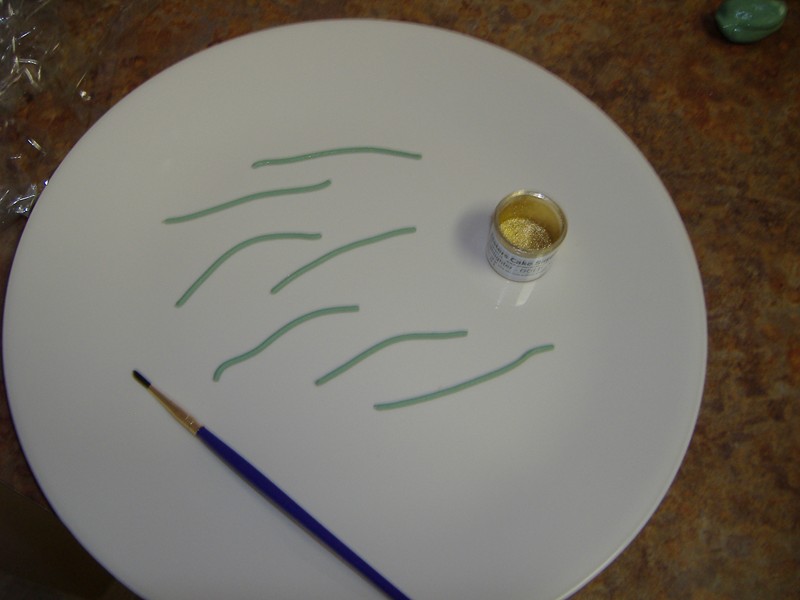
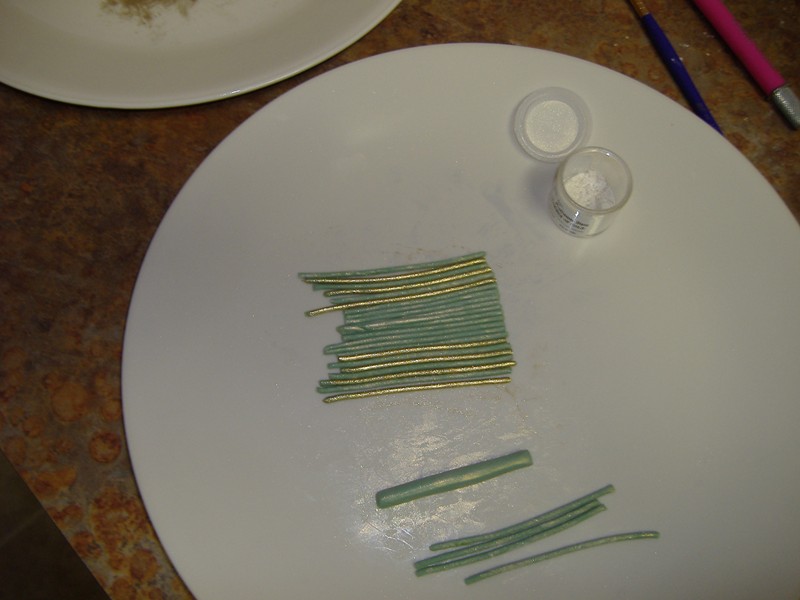
Cut rope to desired lengths. I cut several 2 inch pieces. The number of pieces needed depends on how thick you want your tassel to be. It is easier to make more then you need to start with and discard the unused lengths then to find you don't have quite enough and have to start over.
3
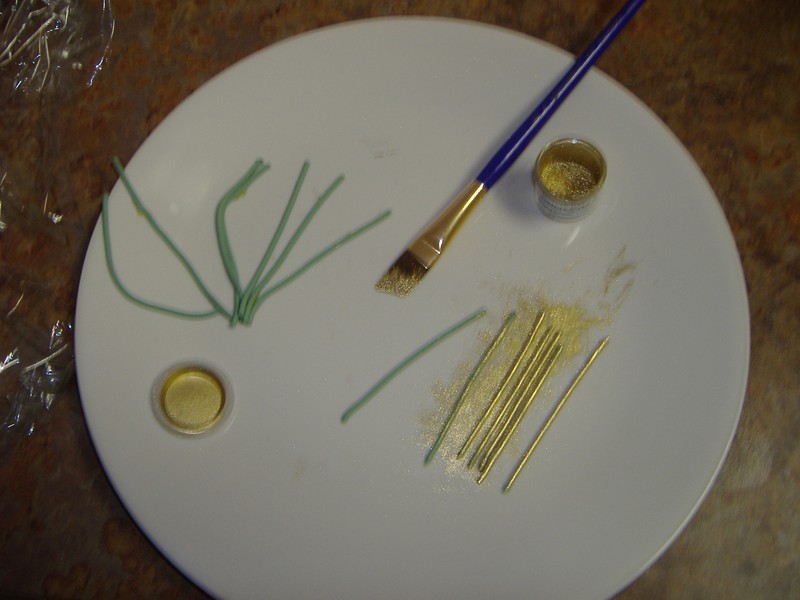
Color with luster if desired.
Use two shades of fondant or color of fondant with another color of luster for a true variation of a tassel.
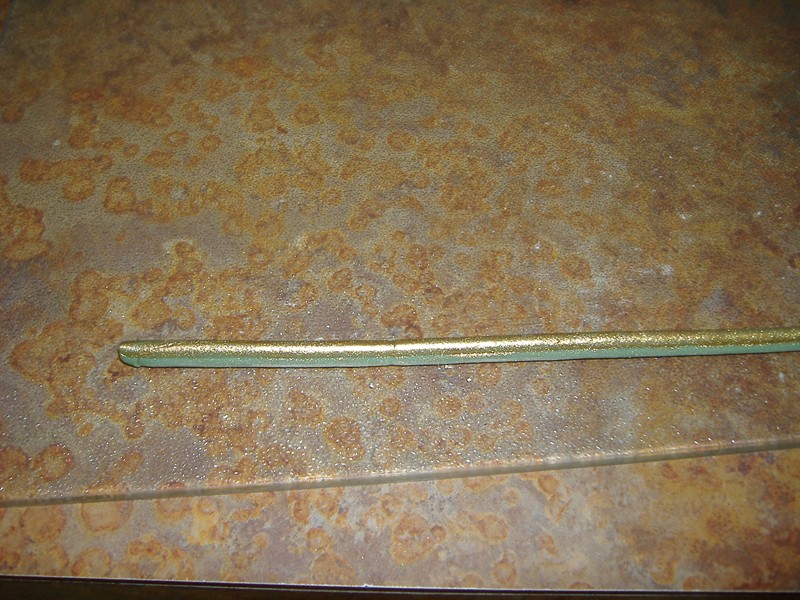
4
Make a length of fondant by hand rolling about the thickness of a pencil.( mix a little Tylose powder into this fondant so it will stiffen up faster and stay strong and firm) Cut it to the desired length and how long you want the head of your tassel to be. I cut it about 1 1/2 inches long. See it in the bottom of the picture.
5
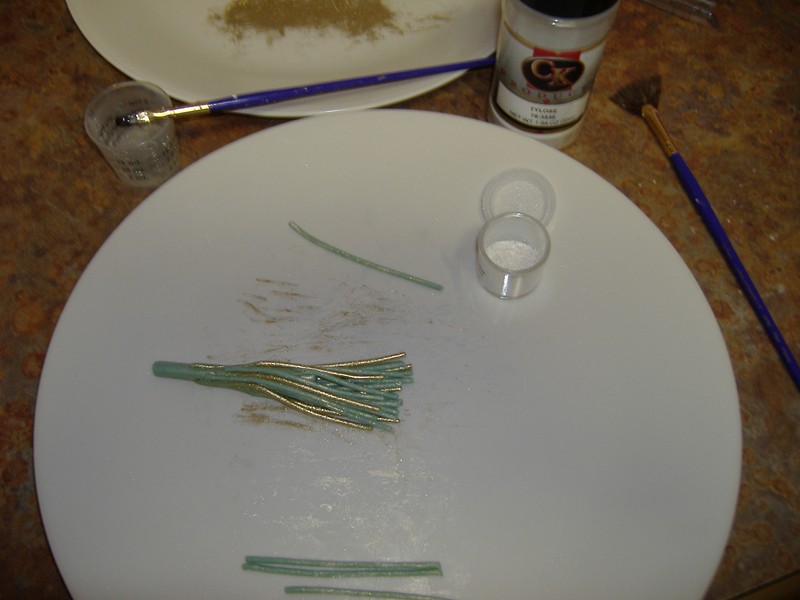
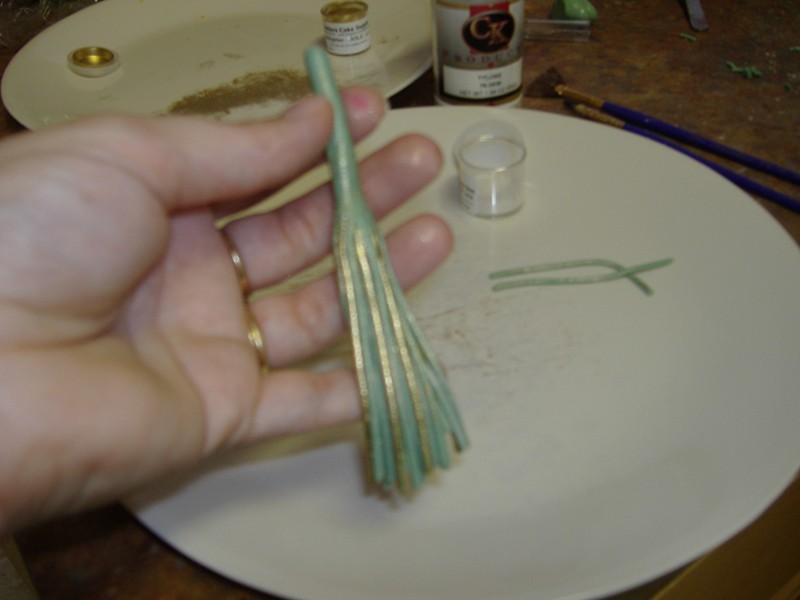
Next. Line up your lengths in any order. It really is better to space the colors alternately here and there. Use fondant glue made from a bit of Tylose powder and warm water till a gel consistency. Apply a light coat of glue across the lengths on one end. I glued the left side of my lengths. Lay the thicker length on the ends of the cut lengths and smoosh gently while rolling over the lengths to gather them up onto the thicker piece. Smooth it out by rolling between your fingers.
6-7
You are half way there. See how pretty the lengths will hang!
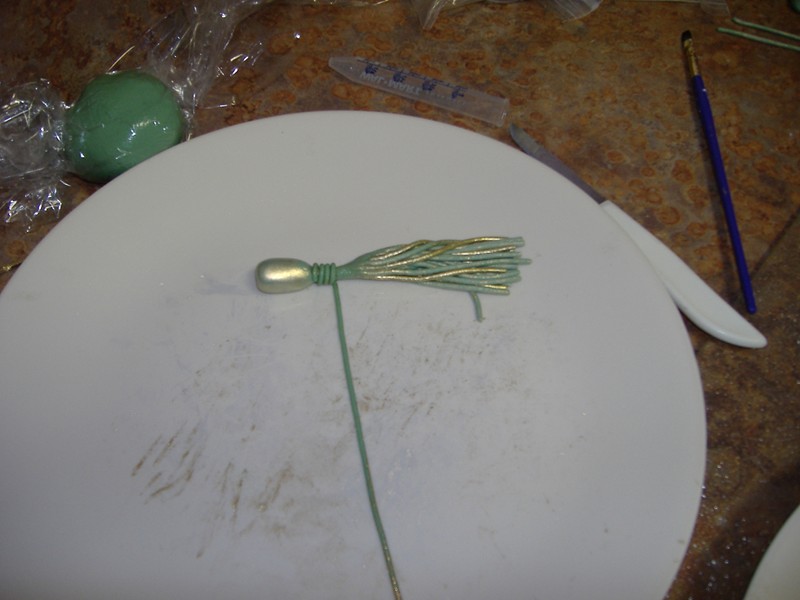
8
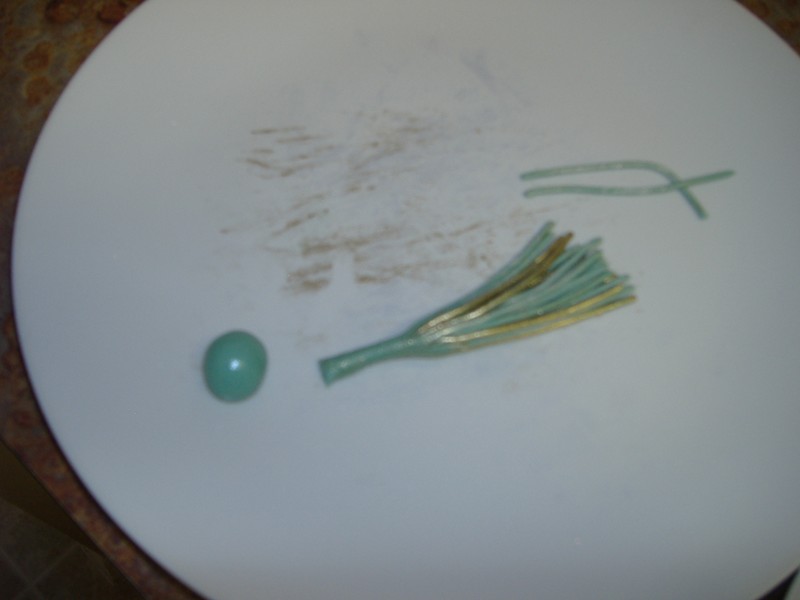
Roll a ball of fondant for the head of your tassel with more fondant with a little Tylose powder mixed in for strength. ( It will really need it!)
Make a hole in the ball that the thick piece will fit into and apply a dab of glue in the hole. I used the medicine dropper's tapered end for this(shown in pic 10 -it had never been used before this) Now stick the neck of your tassel into the hole in the head and form as needed to round it out. Dust with luster if desired.
9
Get a long length of rope from your plate. Don't worry it will have really stiffened up by now. Just gently cup your hand over it for a minute and the heat from your hand will soften it enough that it won't rip or crack on you in this step. Lay the length out straight and place the neck of your tassel on top of the beginning. Apply a dab of glue on the neck of your tassel where the coiled part will go. Now gently roll across the stretched out length moving ever so slightly to the left so the rope will wind up tightly next to it's self. you can help it along if it isn't cooperating just doing quickly before the glue dries. And don't fuss with it too much or it will turn into a sticky mess and fall apart.
10
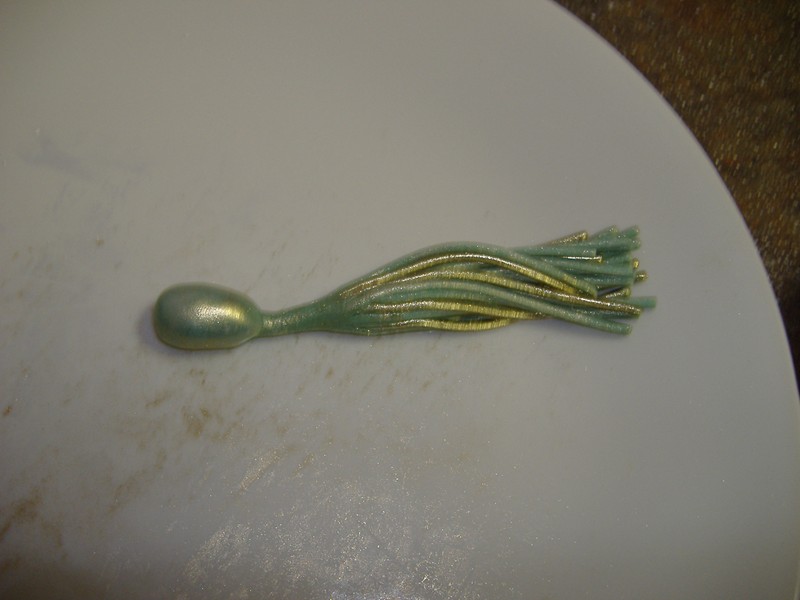
Did you notice when you rolled it across the plate the lengths were pushed into a gentle natural looking sway? Hold it up and see how it will hang.
Ok now cut a little more then an inch of floral wire to insert into the head to really secure this thing together. Decide how thick your hanging rope is going to be and make a hole at the crown of the tassel's head right in the center. This is what you will insert the hanging rope into to make it slightly larger than the thickness of the hanging rope. Now insert that inch of floral wire right into the center of the hole and leave about 1/4 inch sticking out of the top. This is to slide the end of the rope onto so it will stay anchored nice and straight. Your tassel lengths have lost that gentle sway by now so lay flat and roll it gently across the plate again till you like how the lengths will hang and then leave it right there to stiffen up while you make your hanging rope. Now color the coiled part with luster or highlighter is desired. Sorry no pic for this either.
I used the tri-shaped die disk for my rope to mimic my inspiration cord. Make sure your extruder's barrel is clean and free of any remnants from the last time. Work your fondant again to the right consistency and warmth. Lube up your extruder and get ready to rock and roll again. Squeeze out your rope and try to get it to fall down in as straight a line as possible as this will minimize weakness that would show up later. Curves stretch the fondant on the outside of the curve and it could cause an issue later.

Part two the hanging rope...
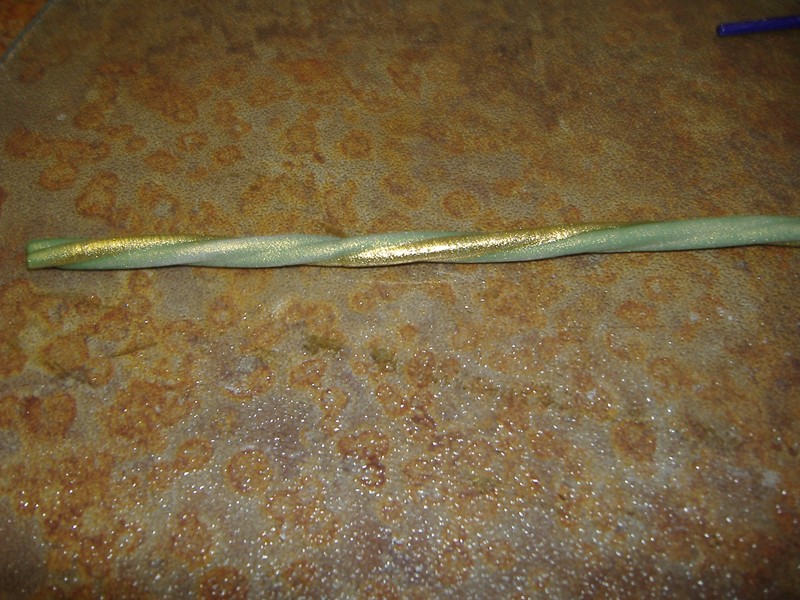
11
I colored my fondant with luster dust on one of the humps on the rope with highlighter and the other two with pearl luster. Now begin to hold one end still and roll the other side in one direction to twist it up.
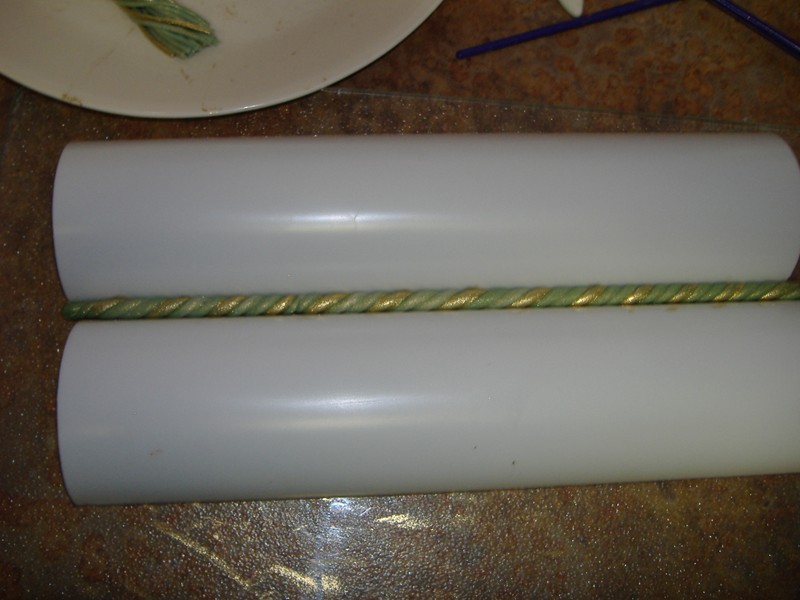
12-13
Twist till your hearts content.and then park your twisted hanging rope in between two flower formers or anything else sanitary that you have handy to keep it from un-twisting. Let it firm up fro a few minutes. My rope was very naughty till I put in time out! And can you see the week spot about 2-3 inches from the left where one green part is soo thin. My rope broke in that spot later but fortunately I had made way to much anyhow. So, make more then you need again. Extra is better then broken pieces and frustration!
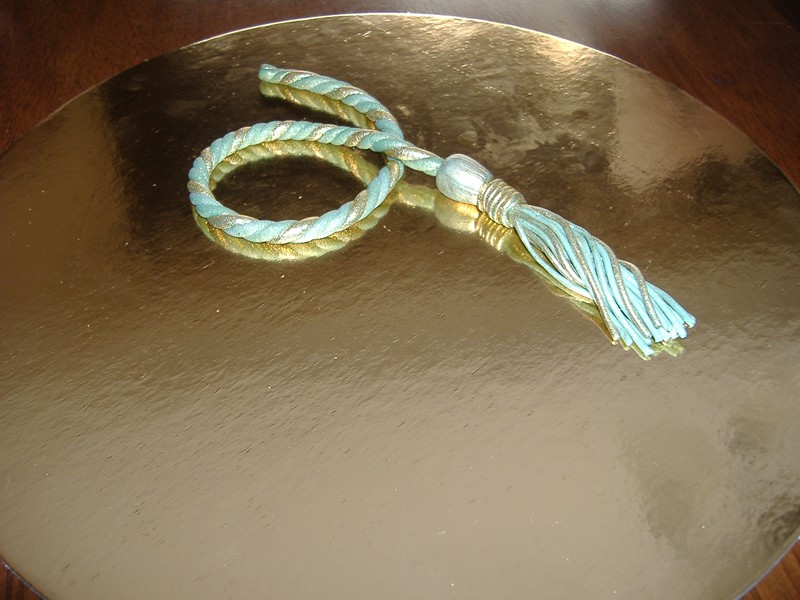
Ok now get your tassel and apply a bit of glue around the hole where the wire is sticking. Taper the end of your hanging rope to assure it will fit into the hole all the way down. Gently slide the rope onto the wire right in the center and push it all the way into the hole. You did it! It's a done deal! You tangoed with a tassel now do your victory dance!!! Wooohooo!
14
Oh if you want your tassel to hang over the side of something then lay it flat but bend it into that curve or angle before it sets up and gets hard. I laid mine in an L shape after determining how far over the edge of my cake I would want it to hang. No pic of that again sorry. And once you go to attach it to your cake you might want to use a toothpick for support. Insert a toothpick into the head of the tassel on the side that will rest against the cake and then get your tassel into position and stick it in your cake. VIOLA! You can do the victory tassel tango again!!! Wooohooo!
I know the pics are a bit off from some of the description of what is happening but at least they are in order.
Please excuse the blurry pics. I had to get this together for you guys right now and had to use the pics I have as I will be off-line this week while my pc goes to the doctor to have some programs removed replaced and other stuff fixed. I will put this all in a power point or something next week lined up better with the pictures. My office suite is acting up and won't work.
Now go kick some tassel butt! I hope to hear all about your tassel tango when I get back in here next week.
I love you guys! Cake Central rocks!
OMG I just realized I am totally going to be having the CC withdrawl!! It's going to kill me!!!!
Sarah


I can't wait to try this! Thanks for all the hard work in putting it together for all of us! ![]()


Thanks Sarah~! I'm with didavista.. just in time for graduation cakes.
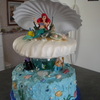
Again, Sarah, you did a fantastic job on the tassle, and the cake.. I hope we will be seeing more of your wonderful talents.. ![]()
![]()
p.s. please treat yourself to a more "user friendly" clay extruder. The one you are using will kill your hand ![]() There are others that are much easier on your hands..
There are others that are much easier on your hands..


Thank You so much Sarah for sharing the photos and information on doing the tassel. I forgot to say this in the other thread with the photo of your cake...but I love how you did the ribbon bow around the cake board base, very pretty 
God Bless,
Sharon
Thanks for sharing...it was very thoughtful & giving of you to take the step by step pics in preparation for making this how-to. True CC spirit you got ![]() .
.

thank you and great work. I love the freedom of idea sharing.


Sarah - thank you so much for doing this!! you are just so amazing!!
I will definately miss you while your PC is at the Dr!! you might have to take a trip to the library to use a computer so you don't end up in CC rehab!!


Quote by @%username% on %date%
%body%