

This a picture of cake one of my brides wants. Is that just piping around the cake to get the rings? Any tips on getting them really straight?
Thanks,
Susan
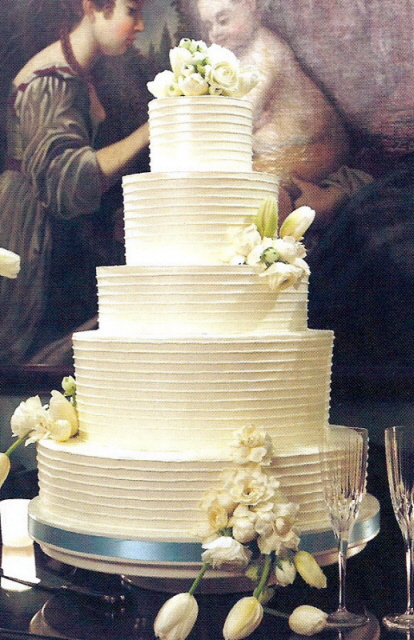


That design is not made using the Wilton comb. The Wilton comb and others like it make designs in the icing itself. If you look closely the lines are a different color icing than what's underneath which means they were piped (or something) seperately. Also some of the lines do look a bit uneven. Try using a revolving cake stand and holding the bag still while you spin the stand.

I'm betting it's this one - and they probably have several sets in order to get the proper separations
http://www.wilton.com/store/site/product.cfm?id=3E31A21B-475A-BAC0-51A3CBEF4593810B&fid=3E32F518-475A-BAC0-535818F5D52DA731
I don't think it is a comb...at least not that one. The rings are further apart than what the ridges on the comb are. Also the comb doesn't leave it flat on the background like that cake is.
I think they marked it with a comb (which they probably made themselves) and spaced out for the rings then piped the rings on, using the comb markings as a guide. If you had an electric turntable it would be quite easy to put the rings on smooth. I know I used to make my own combs for making striped chocolate bows.

I have seen a few decorators do this, and it was not done by a comb. It is hand piped on and not an easy task. If you are going to do this, charge well.


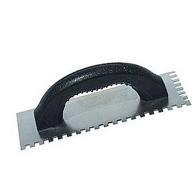
I think I know exactly what that is...when I was doing some masonry work here in my house I had to use a tool that had edges that made that effect so that the tile would stick. I think you can by it at a home center. If my camera was working I would get a picture of it for you....it made designs just like that though....so I would check in the tiling dept, where the trowels are....
BCJean said:....I think they marked it with a comb (which they probably made themselves) and spaced out for the rings then piped the rings on, using the comb markings as a guide....
Bingo![]()
If you look closely at the actual icing/covering of the tiers it appears to exceed the heigth of the cake slightly; it probably is white choco clay (similar to fondant), then the lines are piped on w/a bag by hand.
I think I know exactly what that is...when I was doing some masonry work here in my house I had to use a tool that had edges that made that effect so that the tile would stick. I think you can by it at a home center. If my camera was working I would get a picture of it for you....it made designs just like that though....so I would check in the tiling dept, where the trowels are....
you mean one of these?
I think it is piped.
I have southern engineered a tool to give me multiple, evenly spaced lines. I took a piece of cardboard, cut it the height of the tier. Then, using a ruler, put evenly spaced marks on the cardboard. Using the marks as a guide, I taped toothpicks to the cardboard. Reinforce the toothpicks at the cardboard with a bit more tape. Then, you can lightly run it around the iced tier to leave the guide marks.
You can also tape the toothpicks to an icing smoother.
This is just an idea just in case that ideal tool doesn't surface before your cake is due.
hey.....how did my post get posted BEFORE the post that I quoted???![]()
Just today, I saw that exact same picture in a local wedding guide (article was a book review "Southern Weddings")
researched the internet and found this : Tara Guerard was the wedding planner and this is the profile
http://slideshow.ivillage.com/weddings/real_weddings_dinner_at_tiffanys/post_193.html
this shows a bigger picture and it may be a little clearer...
I found it...it is a notched trowel...I have a square notched trowel personally. I found one on the lowes site....
I found it...it is a notched trowel...I have a square notched trowel personally. I found one on the lowes site....
Quote by @%username% on %date%
%body%