

My best friend is getting married and this is her dream cake that she really wants I'm just not sure how you get the pleated effect! I don't know if we would do the whole cake or just 1 or 2 tiers with it...any ideas on how you achieve this???
Thank you sooooo much!
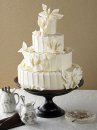

Easy Peasy - this is one of my favorite ways to cover a cake. Measure from the very center of the top of the cake, across the top to the edge (radius) down to the base of the cake (height of the tier). This will be the general length of your pleats. Roll out fondant fairyl thin, cut in strips about 3" wide. Fold over in half lengthwise, pressing only softly but not on the folded edge. Cover the cake starting from the bottom pressing very gently. For each successive pleat, overlap covering the rough edges leaving the folded edges of each pleat exposed by about 1- 1/2". The real hint is that a steep angle needs to be cut off from the top edge of each pleat so that you don't have a buildup of fondant (it's all covered anyway and the build up is very bulky, so cut as you go!) I hope this makes sense.
chanielisalevy - That cake is beautiful!! I'm doing a cake for my mom's birthday in the morning and was just thinking of how to decorate....I think that design would be awsome!! Thanks for the info!! 
Thank you soo much! Thats kinda what I was thinking but having it all laid out like that will make it much easier!


This is a beautiful way to decorate a cake, chanielisalevy! I've never seen it before, but it is truly stunning and seemingly not impossible to do, judging by your very clear instructions. Thanks so much for sharing!
thats a great description of how to do the pleating, do you have any suggestions about getting the last piece in as it needs to be tucked under the first?
thats a great description of how to do the pleating, do you have any suggestions about getting the last piece in as it needs to be tucked under the first?
Yes, I wondered the same thing. And your cake is beautiful!

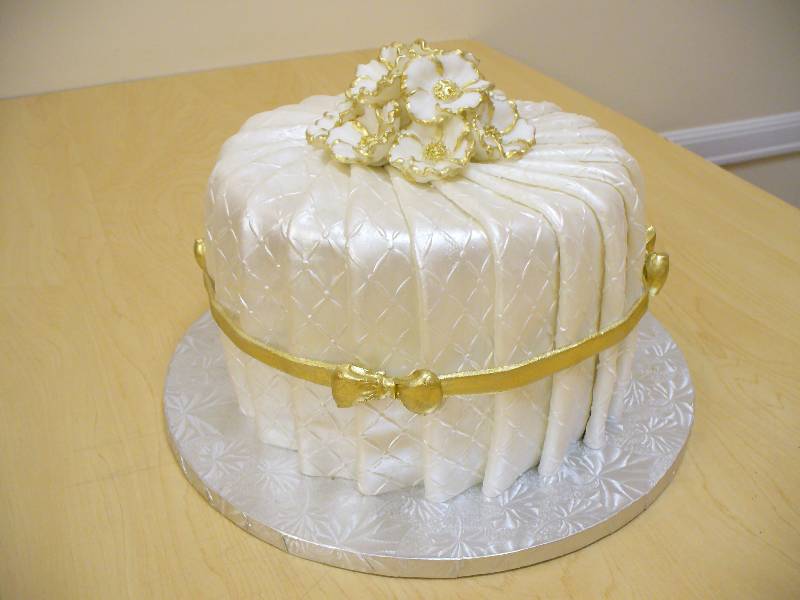
Thanks soooo much for the inspiration!! Check out my mom's birthday cake in my photos!!! It is the brown and ivory one with the bow on top. It was sooooo easy!!!! Thanks again!! ![]()
![]()
![]()
(I tried to post the pic here but I haven't quite figured that part out yet)
Very nice job, Christy - and so good to know it was easy!!


What a great way to do pleating!! Thanks for that explanation!! ![]()
It would work just fine on an octagon (I've done square) just be aware where your pleats will lay when you go around the edges. You don't want a pleat cut in half as it rounds a corner since it makes the pleat look thinner than the others, so make the overlap exactly on the corner edges and it will look perfect. These pleats look even better when you emboss them first and paint with pearl dust. Enjoy!

That is a really good explanation...sounds very easy to do!
thats a great description of how to do the pleating, do you have any suggestions about getting the last piece in as it needs to be tucked under the first?
yes - when you attach the first pleat, press SOFTLY. By the time you get to the last pleat about 30 minutes later, you can tuck the rough edges of the last pleat under the fold of the first pleat, then press softly to adhere. If you work fairly quickly before the pleat hardens it's still a bit pliable. In fact, I would tell you to roll out and cut all of your pleats keeping under plastic. (measure to determine the number you need and the size of the finished width, remembering that the fondant is folded in half!) Then folding the pleats, cutting off the top corner and adhering will go quickly leaving the fondant soft enough to manipulate and cover up any gaps.
Good luck and enjoy!
Ok I am giving this a shot tonight! I am doing a small practice cake the wedding isn't until July but I want to try this first! The only difference is it's going to be a square cake so I'm gonna try and make it work!
Wish me luck!
Again thanks for all your help!! ![]()
you will be surprised at how easy it is. I saw a picture of it in a magazine and figured out how to do it, realizing the problem with the build up of fondant on top of the cake due to the constant overlapping. Just be sure to cut off the excess at an angle so you don't have buildup and the coverage is even (you'll see what I mean when you start) please let us know how it came out! Good luck! You'll love this method and use it often (I sure do!)
Ok I got started last night then took it all over in frustration!! How thick should each panel be? I think mine were too thick...it just didn't look right!
Oh and has anyone ever tried this on a square cake? I am having an issue with making it all come together on the top of the square cake!
I'm gonna give it another shot this afternoon see if when Im not so tired I can accomplish something!
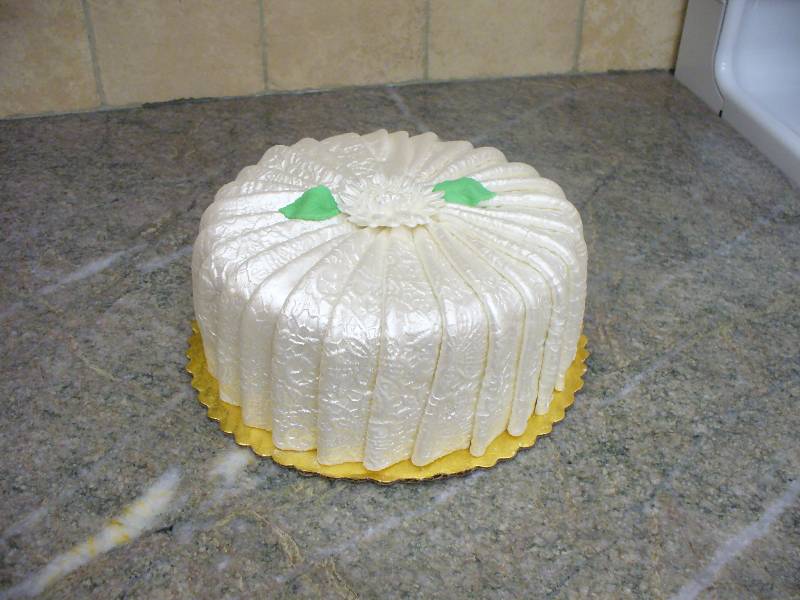
okay, let's start again! Roll out the fondant to about 1/4" thick, remembering that it will be folded over. If doing a square cake, start in one corner. Add the next prepared pleat, overlapping the first. The pieces will all overlap in the top center of the cake so a triangle of the pleat needs to be cut off from the top of the pleat (such that you have a sharp point in the very center of the cake top - following?) or else you'll have a HUGE hump of excess fondant. The angle you've cut off will be covered by the next pleat. I like to have the pleats be about 1 1/2 - 2" wide, (that's the part that shows so you roll out each panel to about 4" wide, then fold over) You can make then narrower or wider if you like, depends on the look you want. Play with a few pleats OFF THE CAKE first to see if you llike the look. The they center top of the cake needs to be covered with something, like a flower, bow, 2nd tier, something because the very center will have a small gap and buil-up, but it should only be about 2" in diameter to cover up. Are these directions more clear?
Easy Peasy - this is one of my favorite ways to cover a cake. Measure from the very center of the top of the cake, across the top to the edge (radius) down to the base of the cake (height of the tier). This will be the general length of your pleats. Roll out fondant fairyl thin, cut in strips about 3" wide. Fold over in half lengthwise, pressing only softly but not on the folded edge. Cover the cake starting from the bottom pressing very gently. For each successive pleat, overlap covering the rough edges leaving the folded edges of each pleat exposed by about 1- 1/2". The real hint is that a steep angle needs to be cut off from the top edge of each pleat so that you don't have a buildup of fondant (it's all covered anyway and the build up is very bulky, so cut as you go!) I hope this makes sense.
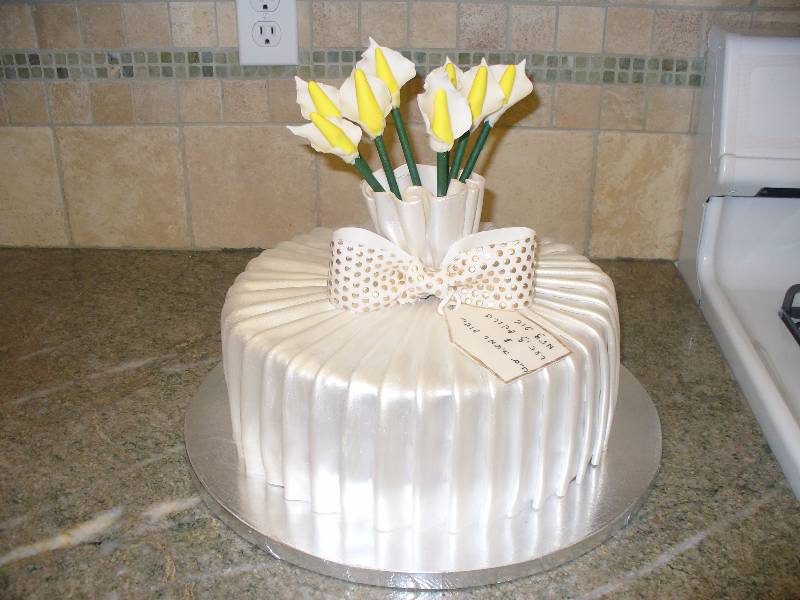
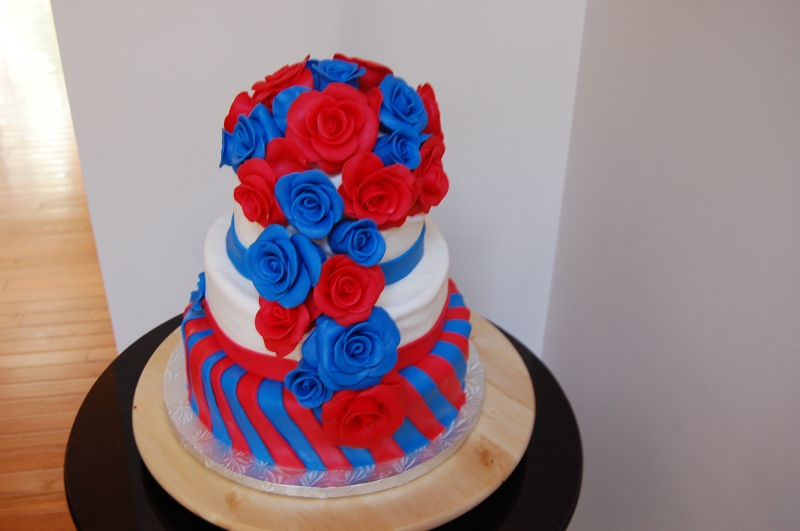
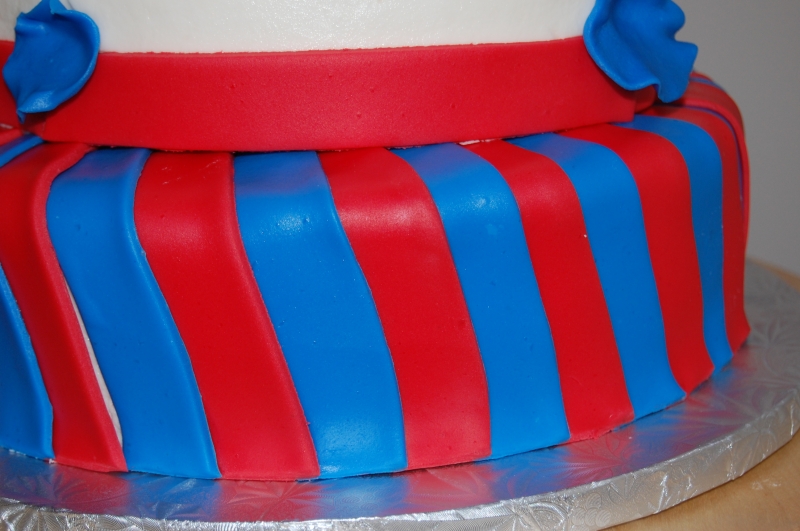
I used your directions. Check it out! Thanks once again.

Ok I got started last night then took it all over in frustration!! How thick should each panel be? I think mine were too thick...it just didn't look right!
Oh and has anyone ever tried this on a square cake? I am having an issue with making it all come together on the top of the square cake!
I'm gonna give it another shot this afternoon see if when Im not so tired I can accomplish something!
okay, let's start again! Roll out the fondant to about 1/4" thick, remembering that it will be folded over. If doing a square cake, start in one corner. Add the next prepared pleat, overlapping the first. The pieces will all overlap in the top center of the cake so a triangle of the pleat needs to be cut off from the top of the pleat (such that you have a sharp point in the very center of the cake top - following?) or else you'll have a HUGE hump of excess fondant. The angle you've cut off will be covered by the next pleat. I like to have the pleats be about 1 1/2 - 2" wide, (that's the part that shows so you roll out each panel to about 4" wide, then fold over) You can make then narrower or wider if you like, depends on the look you want. Play with a few pleats OFF THE CAKE first to see if you llike the look. The they center top of the cake needs to be covered with something, like a flower, bow, 2nd tier, something because the very center will have a small gap and buil-up, but it should only be about 2" in diameter to cover up. Are these directions more clear?
So you fold yours? I didn't do that so now I have to try your way. Can you try to explain one more time. Am I folding it in half and just putting it on the cake that way?
Your cake came out great! What a great 4th of July cake! I see you placed yours on an angle, too ...that's something that never occurred to me. I put my pleats on straight vertically, and YES, I folded each piece in half, that's what gives it a pleated look as opposed to an overlapped look (which is fine, just different!) So each panel/pleat is a piece of rolled fondant the height of cake plus a few inches for the top of the cake by about 4" wide, FOLDED IN HALF but pressed down only slightly. You don't want to flatten it, it should be a bit puffed up. Like a ribbon rose. That way it looks like fabric, nut jusy overlapped. and remember to trim off a steep angle from the top corner of the pleat before palcing on cake so as you overlap each panel onto the next one you domn't get a tremendous build up of fondant. Let me know how your next effort works out. This cake is great. Pleating is one of my favorite ways to cover a cake because it can look so interesting/elegant, etc. Happy pleating!
Quote by @%username% on %date%
%body%