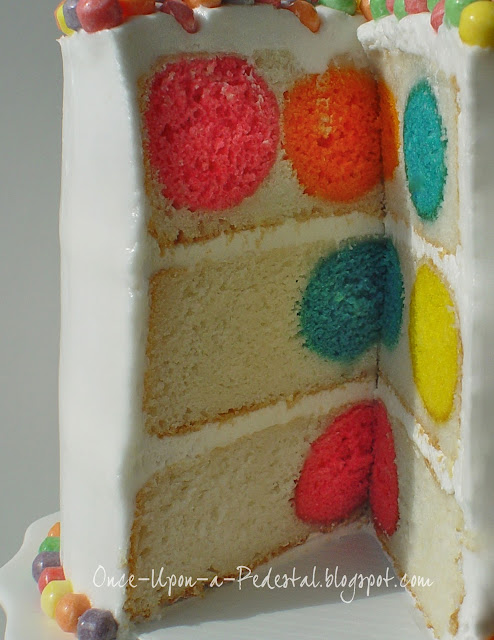

How to Make a Polka Dot Surprise-Inside Cake
Printed From https://www.cakecentral.com/tutorial/39221/make-polka-dot-surprise-inside-cake 2024-05-03
“Surprise-inside” cakes are all the rage right now, and they’re just as exciting to make as they are to eat! Although they may seem like a mystery, this simple tutorial from Deborah Stauch (DStauch) of the blog Once Upon a Pedestal proves that with the right tools, even beginner cakemakers can create polka dot perfection!
Read on to find out the secret behind this jaw-dropping polka dot surprise-inside cake.
Materials
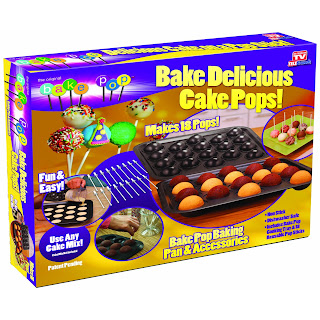
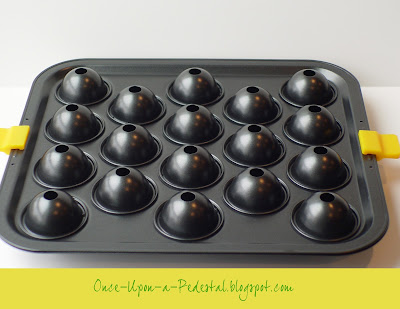
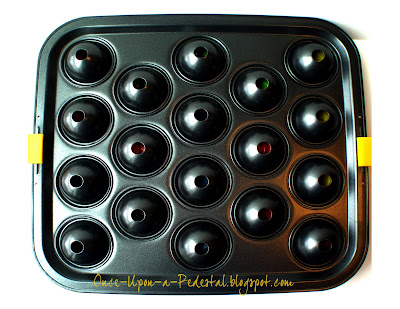
Cake pop tins
6 bowls for tinting
AmeriColor soft gel pastes (1/2 t. of each): 113 orange, 107 lemon yellow, 164 electric pink, 162 electric green, 103 sky blue, and a mix of 130 regal purple +165 electric purple
AmeriColor or Wilton white coloring (optional)
Ingredients
6-inch round cake pans (3)
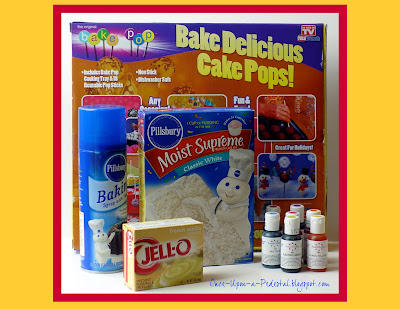
2 white cake mixes
3 whole eggs (for cake balls)
3 egg whites (for second cake mix)
2/3 cup vegetable oil, divided
1/2 cup milk
2 small boxes of instant vanilla pudding
Non-stick baking spray with flour
Instructions
Part 1: Bake cake balls
I kept asking myself, “Why in the world would I possibly need that when I can roll a perfectly round cake ball with my own two hands?”
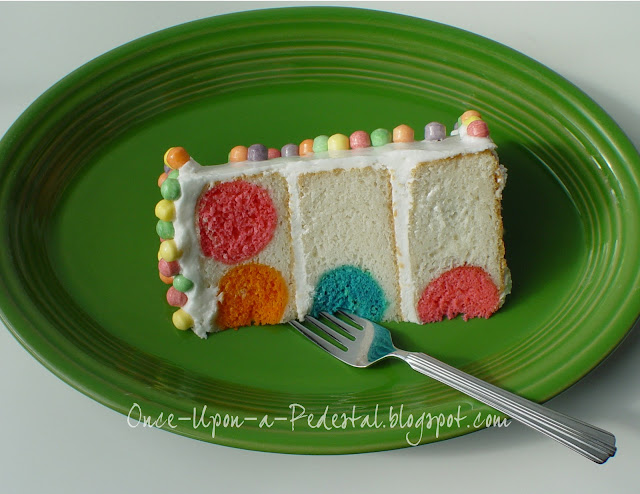
And then one night I had this great idea for an experiment. How about using them to put polka dots inside a cake? Rather large polka dots. But polka dots all the same.
Helpful hints for using cake ball tins:
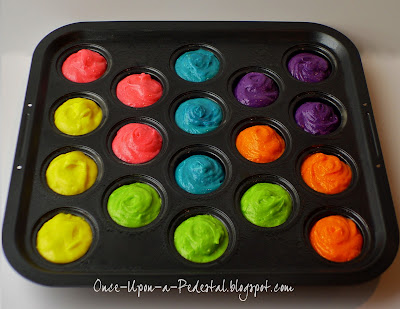
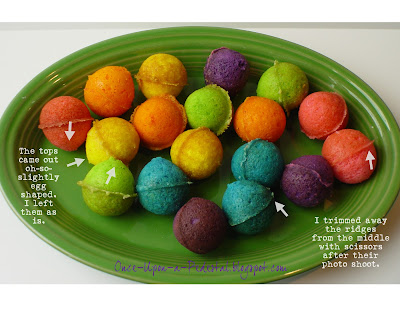
For the cake balls, I used the cake mix and pudding along with the substitution of milk for the water per the instruction guide. After dividing the batter in half, I further divided half of the batter evenly between 6 bowls for tinting. I used AmeriColor soft gel pastes for coloring the cake balls, and I used about 1/2 t. of each so that the colors would remain vivid after baking. I did not decrease the liquid as suggested or increase the eggs but went instead with the amounts on the cake mix box.
You can see the bright colors in the vents peeking through after the clamps were put on.
The instruction guide suggests baking at 350 °F for 25 to 30 minutes but that sounded WAY too long. My goal was to slightly under-bake them so that they wouldn’t dry out too much during the second bake time. They were done at 13 minutes in my oven.
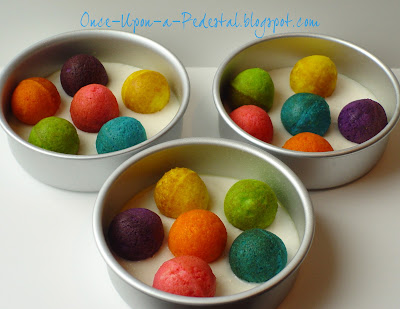
The remaining batter was scooped over each ball to cover. And into the oven they went. Looking rather more like dinner rolls than cake. I didn’t tap the pans or even the batter out for fear of uncovering the balls.
The filled 6-inch rounds baked about 30 to 35 minutes or until they pulled from the sides of the pan and sprang back when touched lightly. I didn’t use the toothpick method for fear of stabbing a colored ball (or hopefully soon-to-be-polka-dot) since the balls were already cooked and not a true gauge of doneness.

