

So Frustrated - Any Recommendations?
Decorating By gloria Updated 18 Dec 2009 , 5:43pm by autigger57


What kind of fondant are you using? It looks dried out. Have you tried adding a little shortening to it?

I have found that when I want something (in fondant) to be very smooth with no lines or wrinkles, it works best to use absolutely fresh fondant. I make a batch of MMf and use it immediately and the finish is pretty much pristine! Maybe you could try doing that.

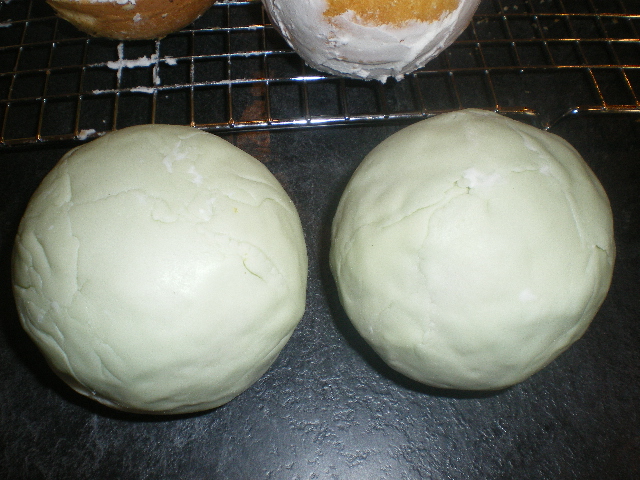
Looks dried to me, too. You should not have all those cracks.... did you put it on in one piece? Smooth from top down.... A round cake can be a bit more challenging to cover in fondant.
Best wishes to you... hope it works out. You worked hard so far...
Jen ![]()
I'm using fresh fondant.
Using extra shortening made it worse. It just started stretching too thin.
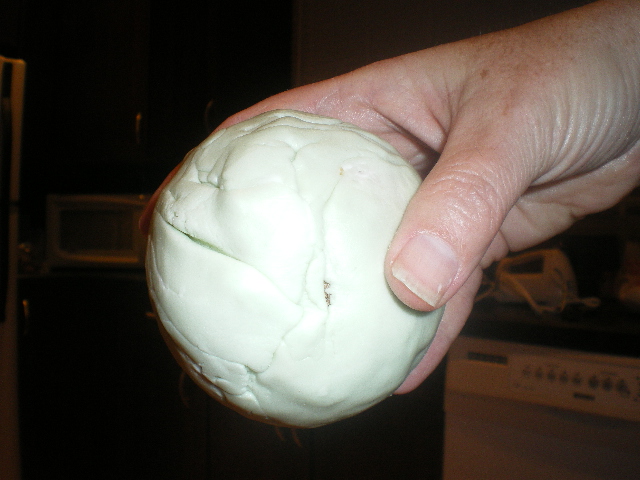
The problem seems to be when I get near the bottom part. I have all this excess fondant and it just starts overlapping (thats what it is-not cracks).
This is really frustrating - 10 more to go and nothing is looking good - they are gifts!

I'm not sure what your schedule is, but do you think that you could use modeling chocolate instead of fondant? I think you will be able to get an almost flawless finish with modeling chocolate, because you'll basically be able to 'rub' out all the wrinkles and lines. Just a thought. GL!


Have you tried making your pieces a lot smaller and much thicker? It looks like your piece of fondant is too big and is causing all the creases at the bottom...I'm certainly no expert, but it might help to make the pieces smaller.
hmmm, just thinking out loud here....how are you packaging these? if it won't hurt your presentation too much, you could cut a flat edge on the bottom and fold the fondant under, that might work for you too!

I agree with PennyDock. You should roll your fondant a little smaller and thicker. Whenever I need to cover a ball, I allow all the fondant to drape at the bottom, as in your pic above, then I take a small pair of scissors and trim the fondant as I'm smoothing it down, rather than trying to make all that excess fit. It's a bit tedious, but it works well.
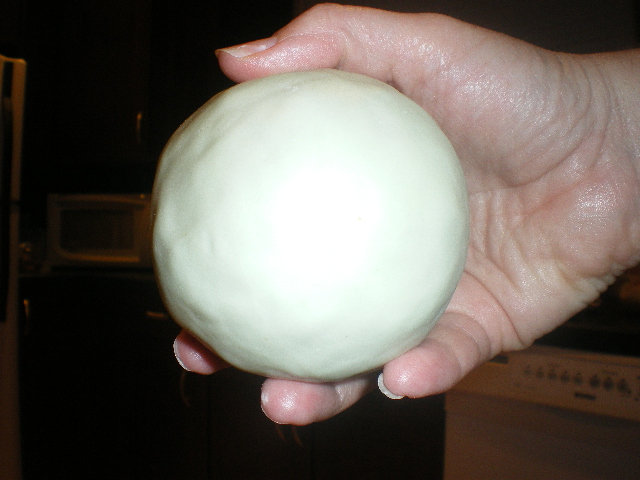
Once you have your ball covered, anchor it with a little icing or a blob of sticky fondant so you can go over it with your smoother to get rid of the fingerprints. If your fondant is too thin, you'll never get rid of the fingerprints. That's why you need to roll it a little thicker.
If you have hot hands, you may want to wear cotton gloves while you're working or place the ball in a small bowl so you can work on trimming and smoothing the bottom without squeezing a lot of fingerprints into it.
It also may be easier to cover the balls if you freeze them for 10 minutes or so.
I know the feeling!
Somewhere and I don't remember where I saw it ...... each half was covered in fondant and covered like a cake. Then gently pick up one half and ice the flat surface thinly and stick the other half to it. Then they smoothed the joint and used decorations to cover the seam. They put pearls around, or a fondant ribbon or a skinny rope and one was covered with two snowflakes on each side where the seam was. After they were decorated you could barely tell that you joined the halves together.
If I can ever find Wilton half ball pans I want to try this. But.....they do not have them at any Michael's around here and I don't want to pay full price and shipping and order directly from Wilton.
Ooooh Peridot that sounds like an awesome idea!!!! I am making miniball ornaments this weekend for 2 different cakes and I am going to try it!!! Woohoo now im feeling better about it!
Quote by @%username% on %date%
%body%