

I bought a bag of this stuff years ago, but never used. It didn't come with instructions, i.e. how much water to the amount of product.
I think I want to buy the big kit, very $$$, but I'm not the best with RI, so what is suggested.
As an after thought, I would also like to learn how to airbrush. I'm not artistically inclined, I can't do shading. Is it worth it to get an airbrush for just painting the cake in the color I want? How much over spray is there? Do I need to set up a different area?
MaryAnn

first two questions i can't answer... but airbrushing can get VERY messy... and even when you are very careful, even when you go to blow your nose, if you were airbrushing red, guess what color is in the tissue?
it would be wise to either set up a different station for airbrushing or just make sure everything in the area is wipe-able...
airbrushing is very easy, but if you try for a dark color, and you airbrush too much ontop of your cake it will pool up also....

Hi Mary Ann,
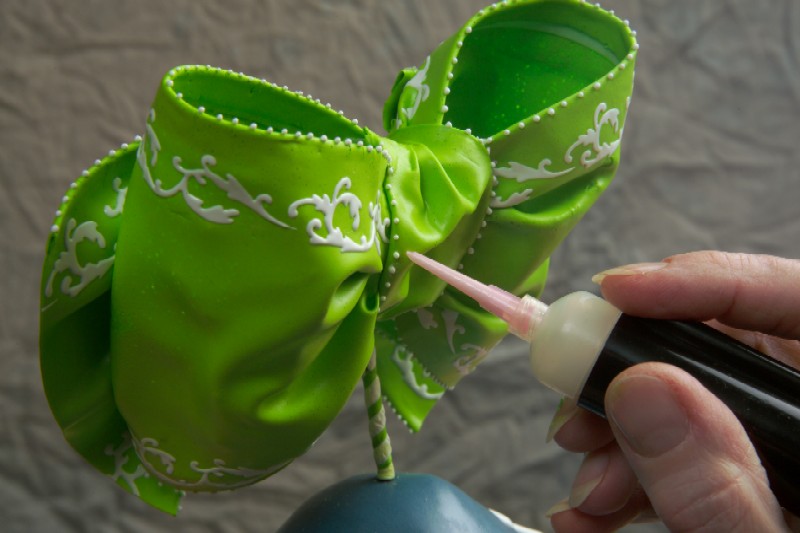
Use 1/3c plus 2 Tbl boiling water to 1 cup SugarVeil. Here are the complete instructions: http://www.sugarveil.com/confectionery_icing/icing_instructions.htm. If you are using a piping bag and would like lines with more dimension, place bag in the fridge for 30 min or so - the lines will also set that way. You don't have to use the Icing Dispenser with SugarVeil, but as for me, I'm totally untalented with piping, and it allows me to pipe lines and dots finer than even using a parchment cone (I'll try to post a picture below). Addressing a few previous posts, there are three things to remember with the Dispenser: (1) Allow the tip to touch the surface. Since this is a no-no in traditional piping, it's a tough one for trained pipers to get use to. (2) For tracing intricate patterns onto greased parchment, place the heel of your hand directly on the table top for more control, just like writing with a pen. (3) Vary the pressure of your fingertip over the hole for different line widths (you need to cover the entire hole): very very lightly cover the hole for thin lines; for thick lines use more fingertip pressure. More answers than you asked for, I know - let me know if I can be of further help. Thanks - Emily at SugarVeil


Quote by @%username% on %date%
%body%