How to make Cute Minnie Mouse Ears
Find more on our blog! http://caketalkblogger.blogspot.com
I was inspired to create this post when I started working on this Minnie Mouse cake. I was looking for something to give Minnie a more feminine look than the same old round flat Mickey ears with a skewer through it. So I ventured into creating an indented round ear... a step up in the 3D department! What may appear difficult and laborous you may find that this mouse ear tutorial takes just a few extra minutes and a couple of extra tools than the flat ears. The biggest challenge was coming up with the frame 'work'. How to create a structure to support this shape and stay secure? After a few days of hoping I would find something out there I realized the solution was right in my cake cupboard! Cake wires were the answer. I like to get them at my local cake shop (Every Baking Moment in Dixon). But you can get them at any other cake shop as well. Now all we have to do is shape them into place so... let's get started!
Minnie Mouse Ears - 3D Fondant
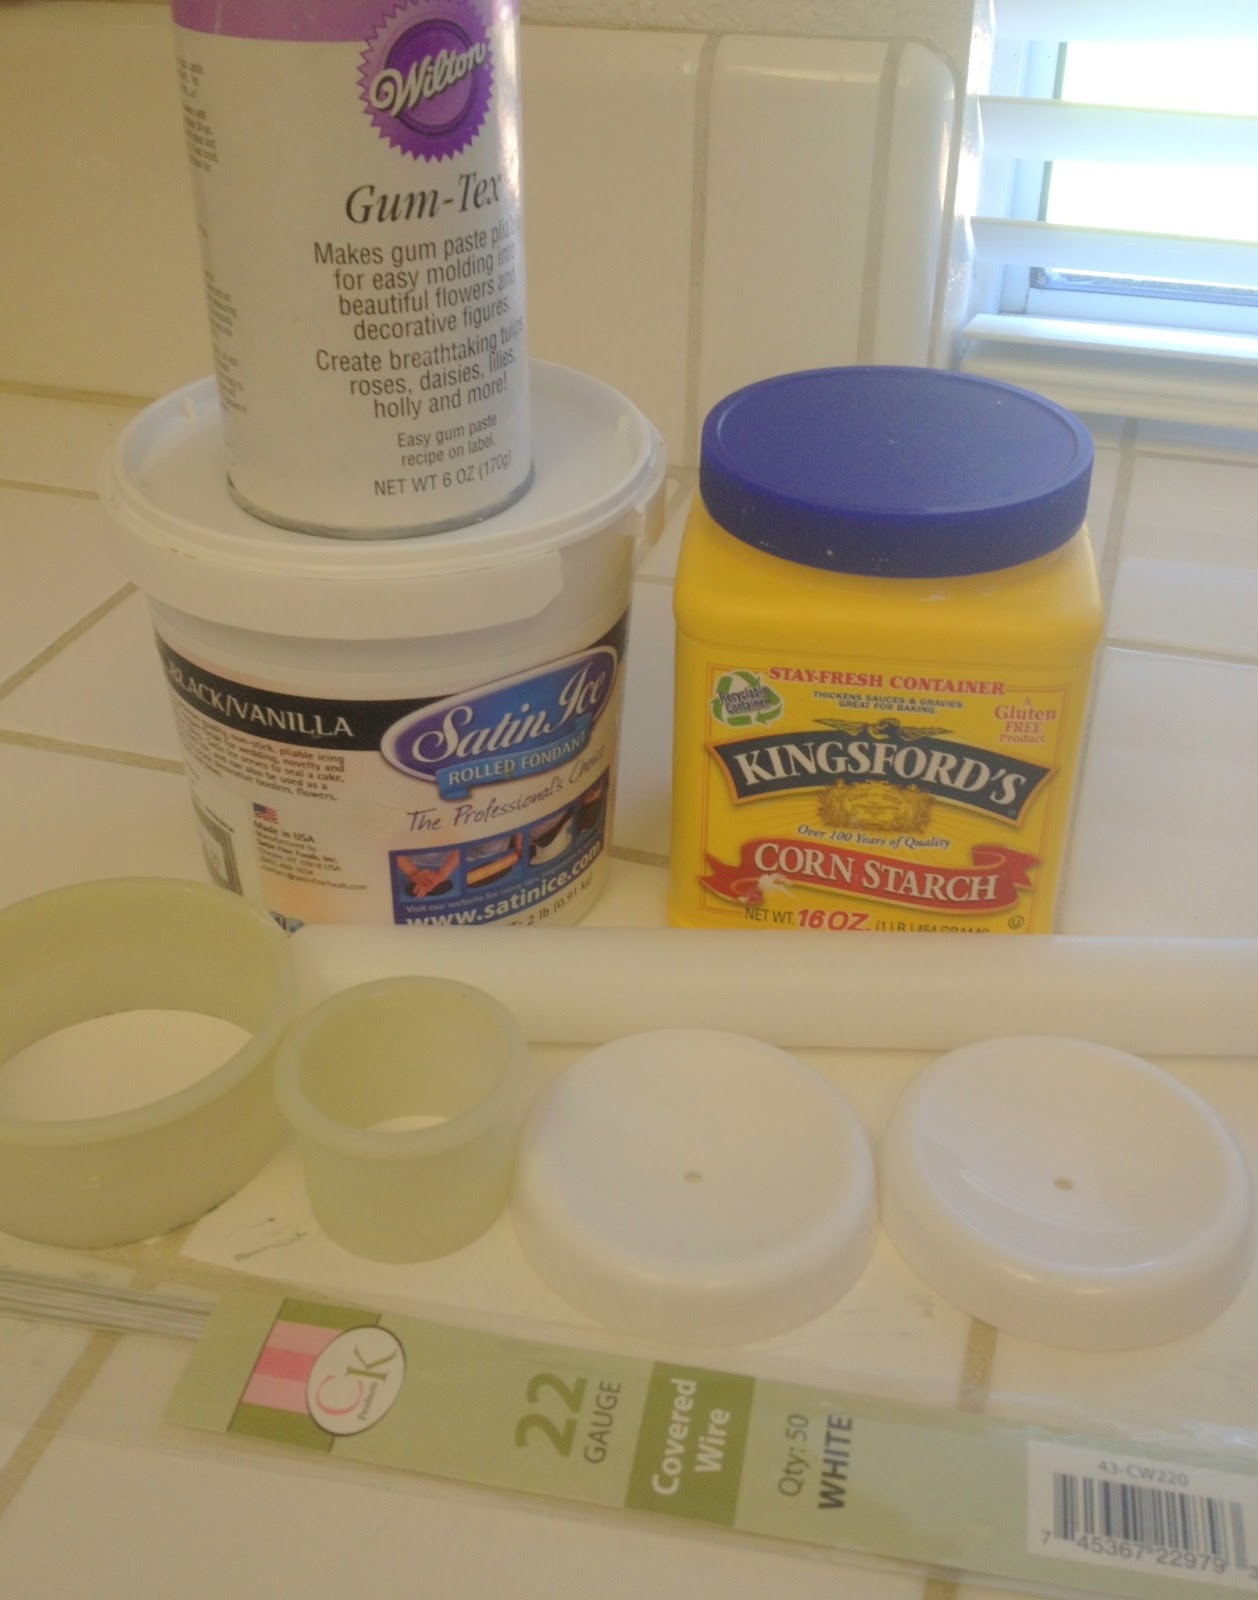
Materials
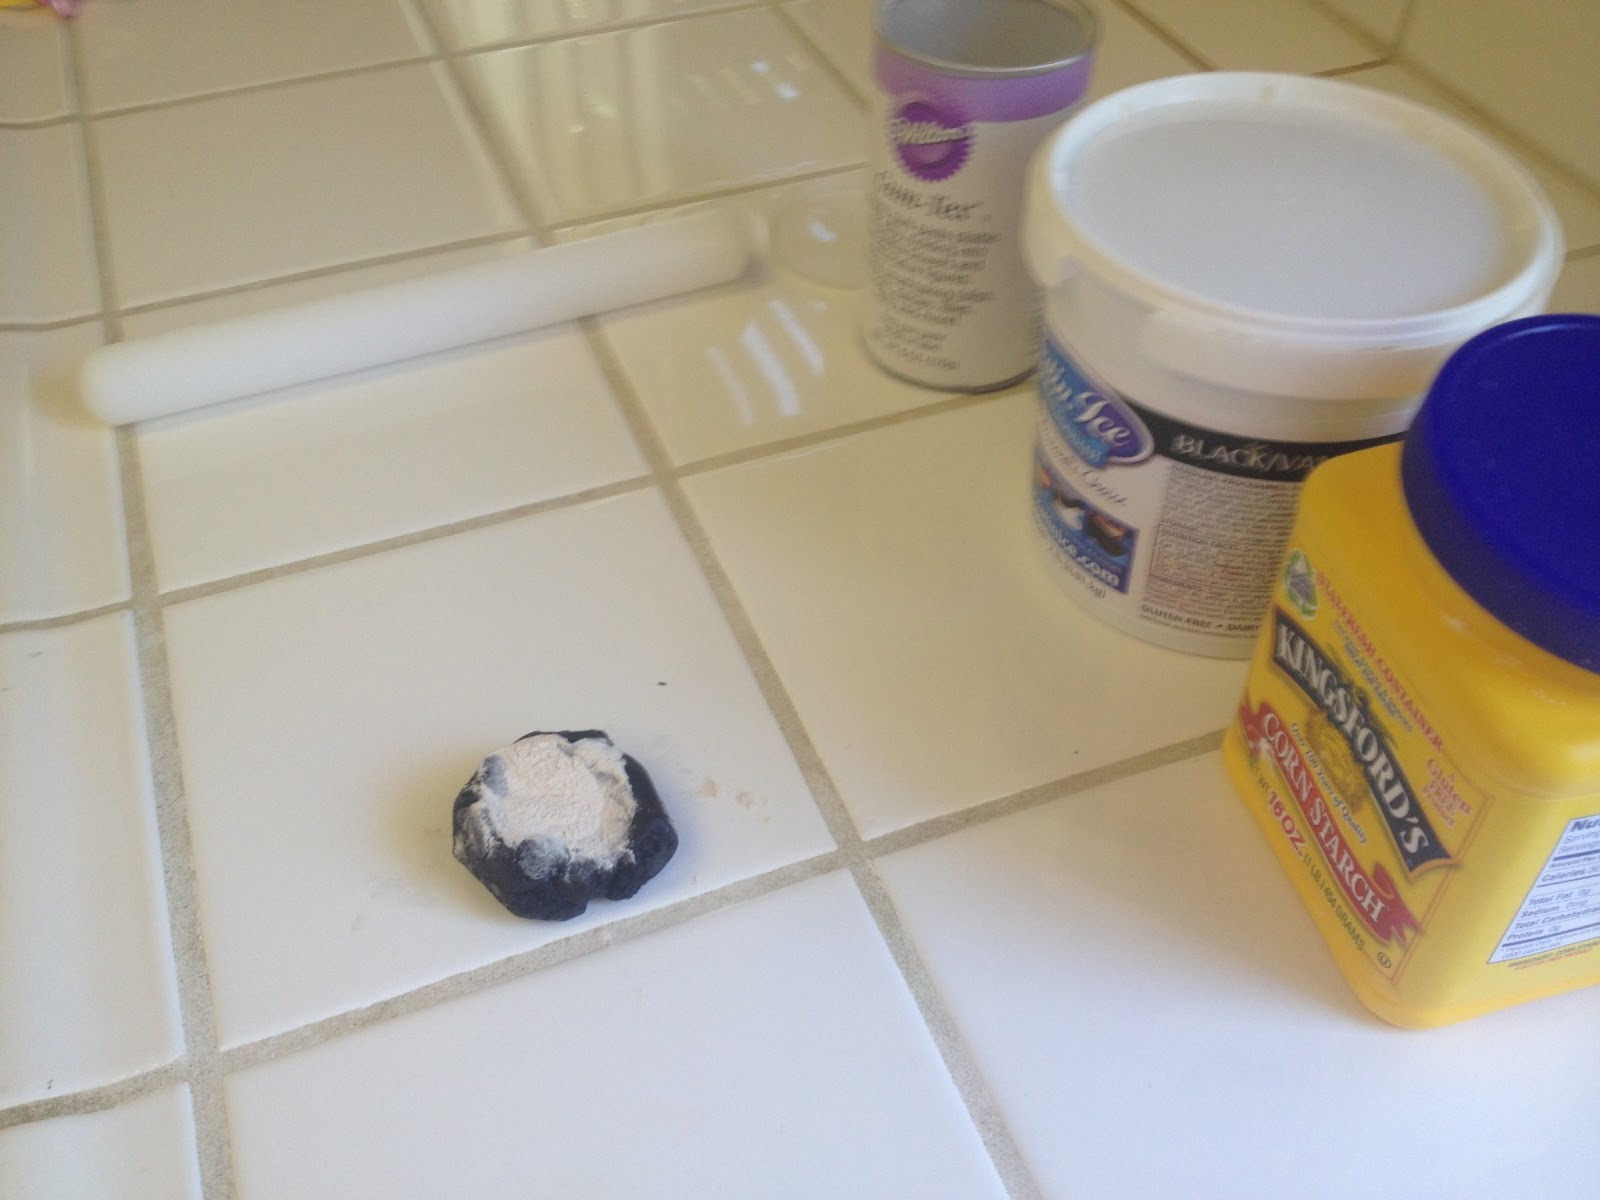
Black Fondant
Cornstarch
Gum-Tex
Round cutters (ear size and about 2 sizes smaller)
Flower Drying cups
Covered Cake Wire
Fondant Roller
Pliers (not pictured)
Paint brush (not pictured)
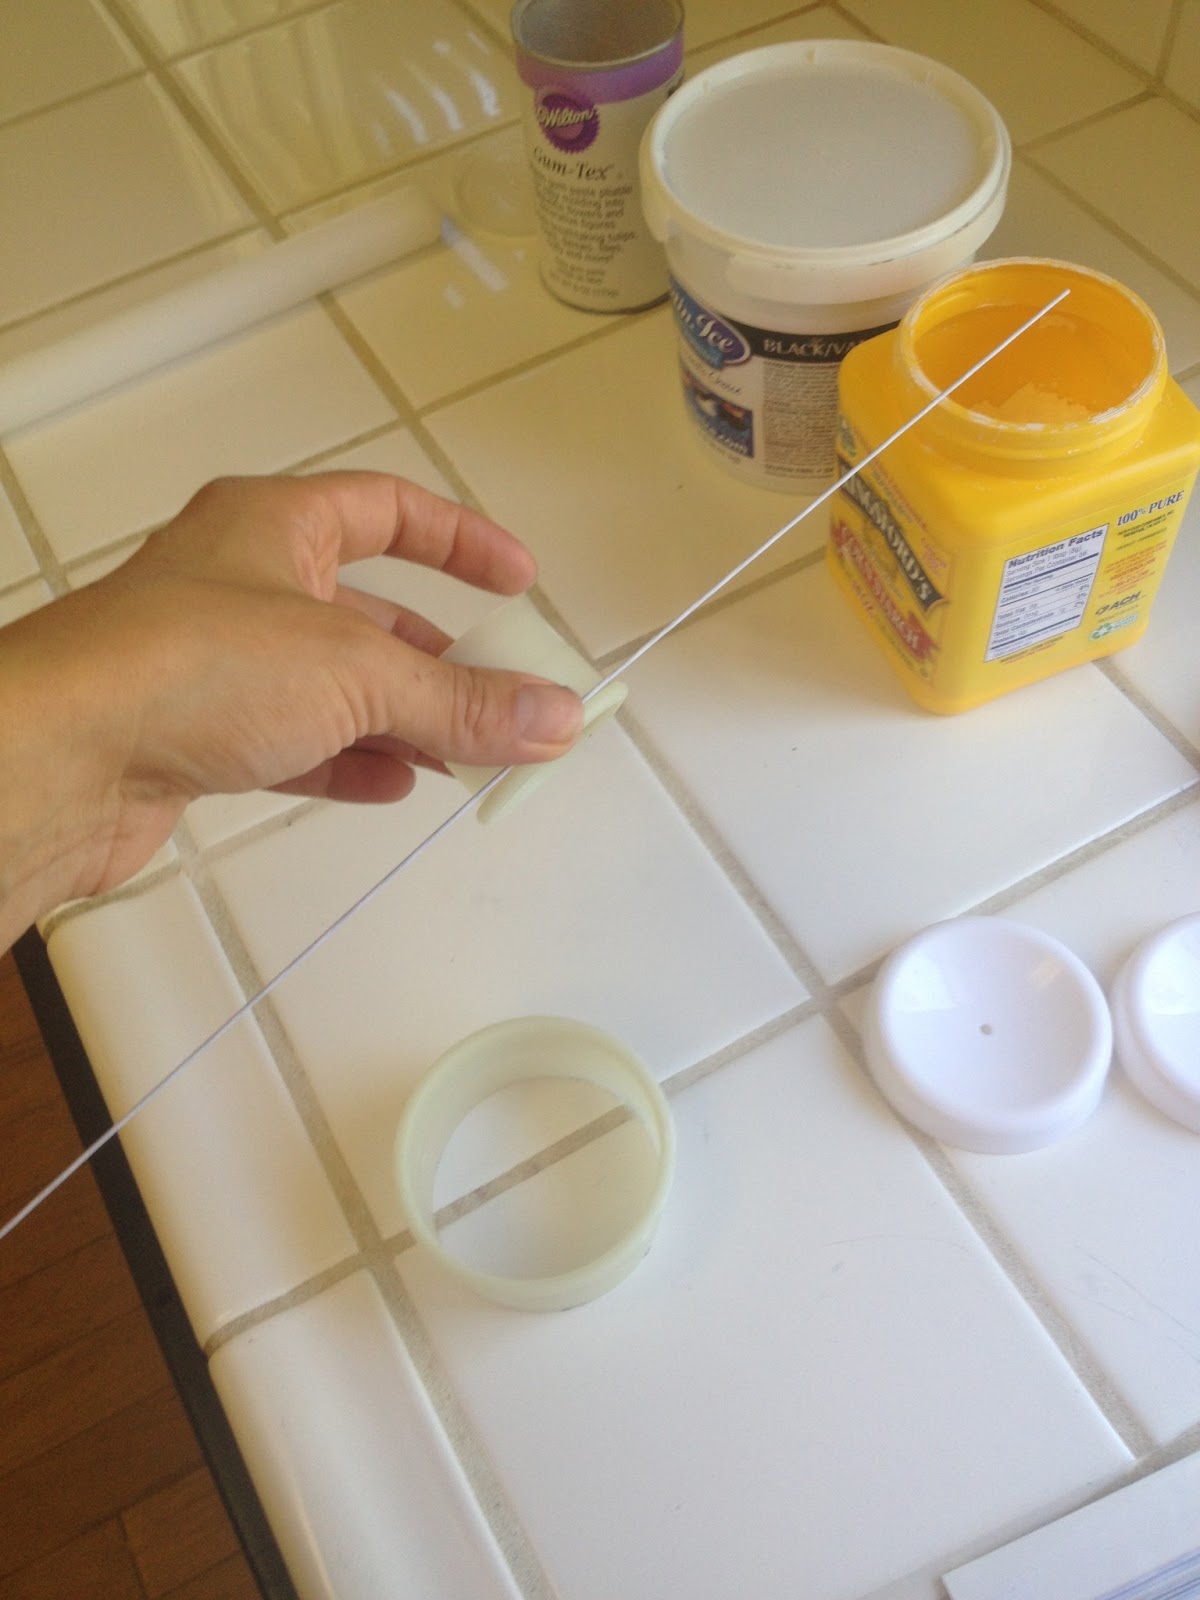
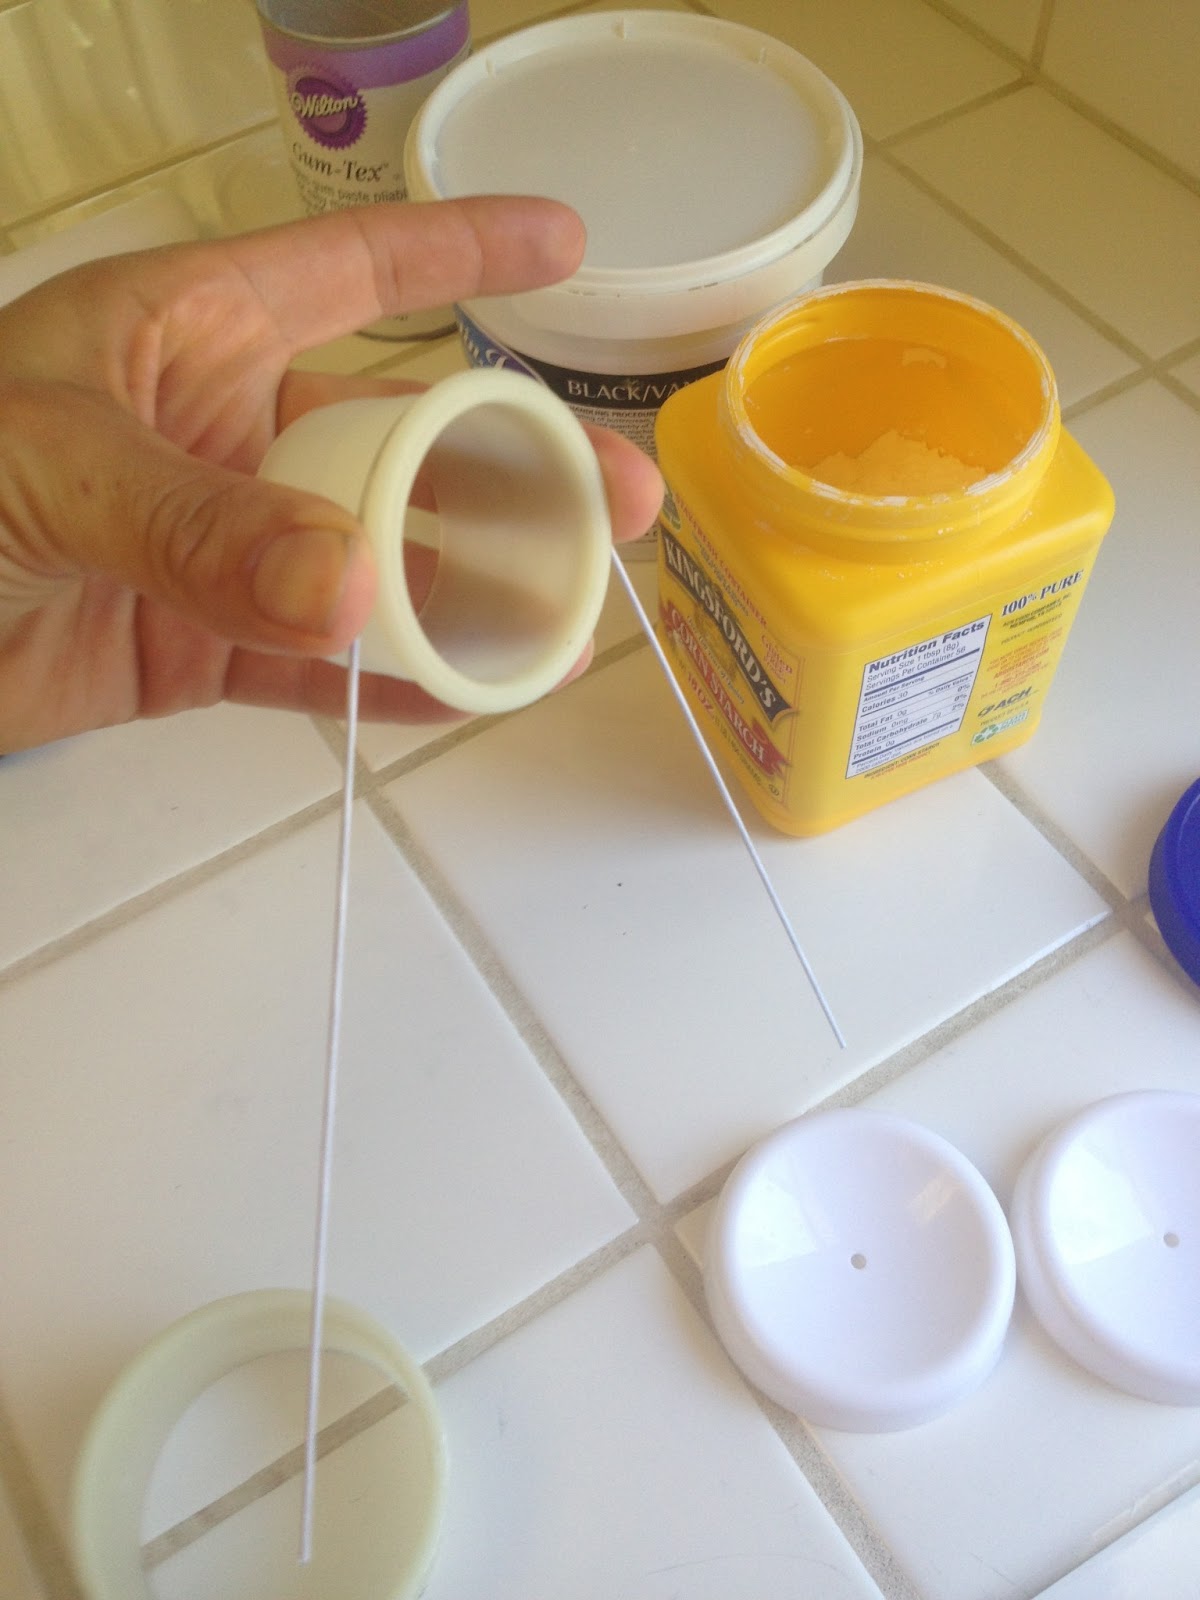
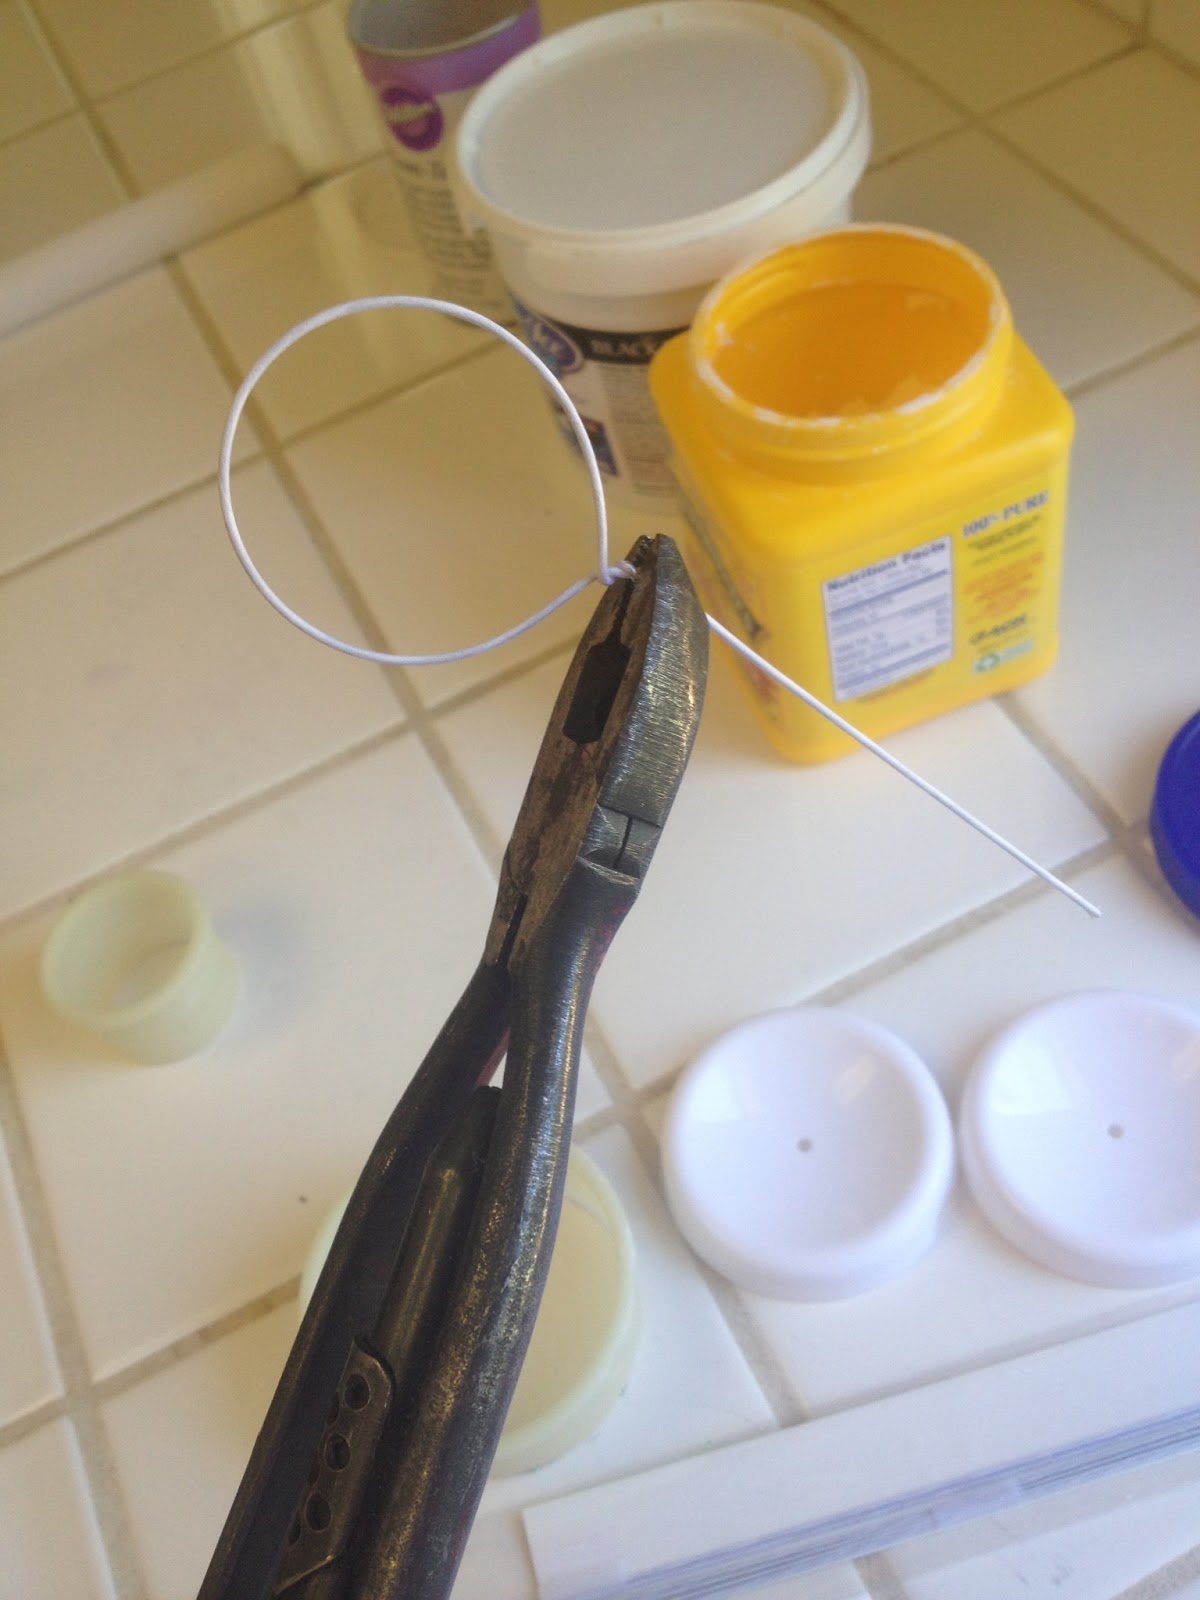
Step 1. Make the Wire Frame
Center the wire on the smaller round cutter. Gently and firmly push the wire around the cutter until the y meet. Try to keep one side straight while bending the other (this prevents the frame you are making from losing a good shape). Once shaped pull it out holding it carefully and secure it firmly with the pliers.

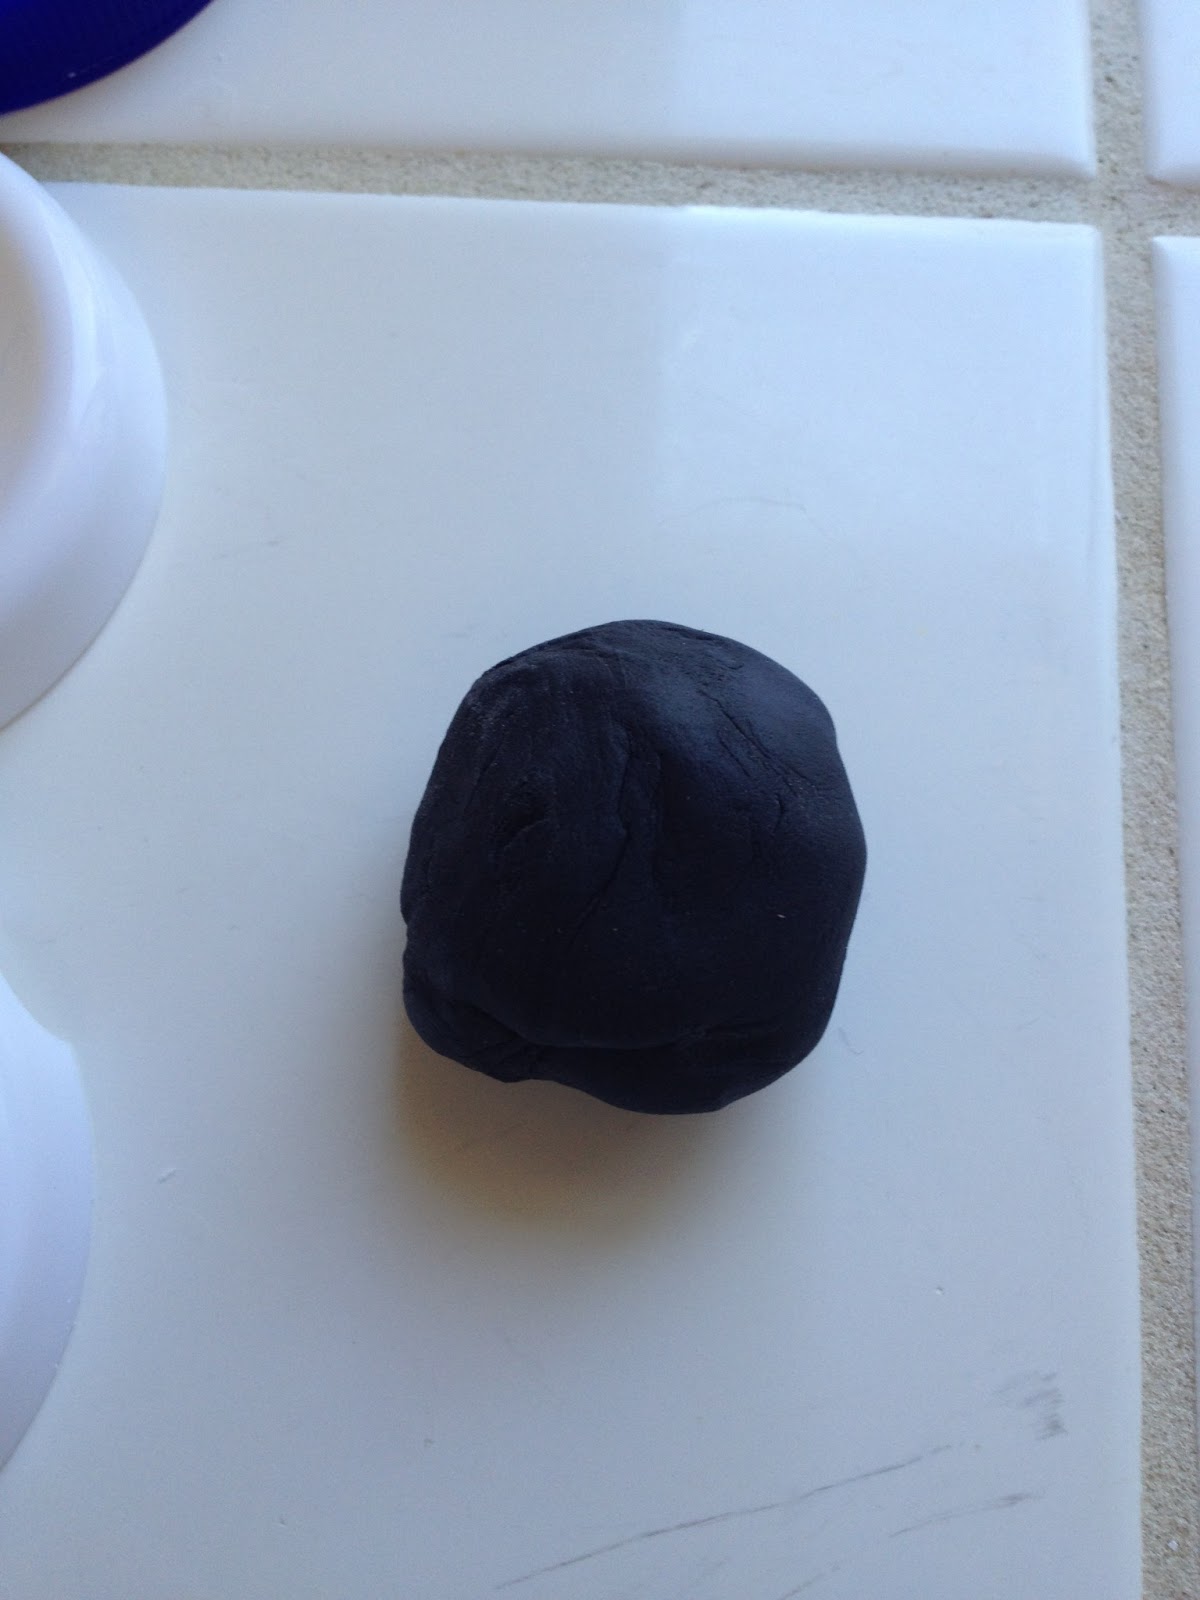
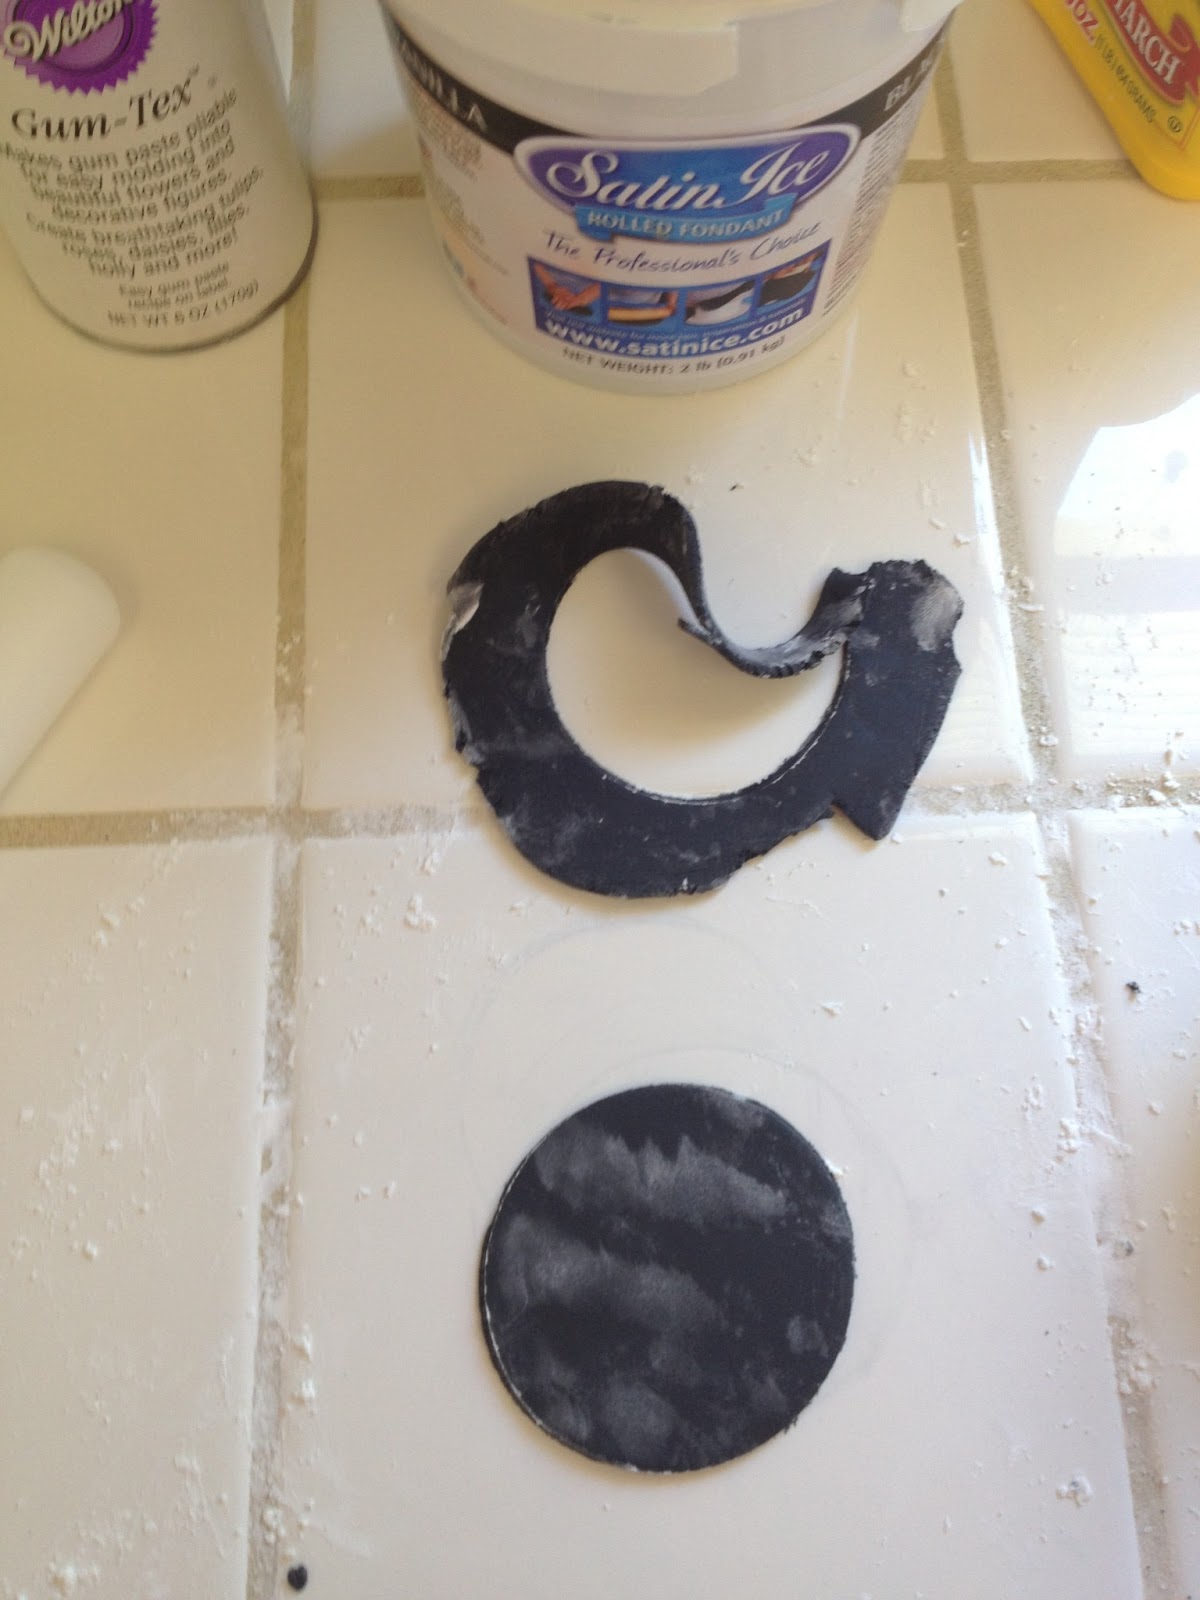
Step 2. Prepare the Fondant
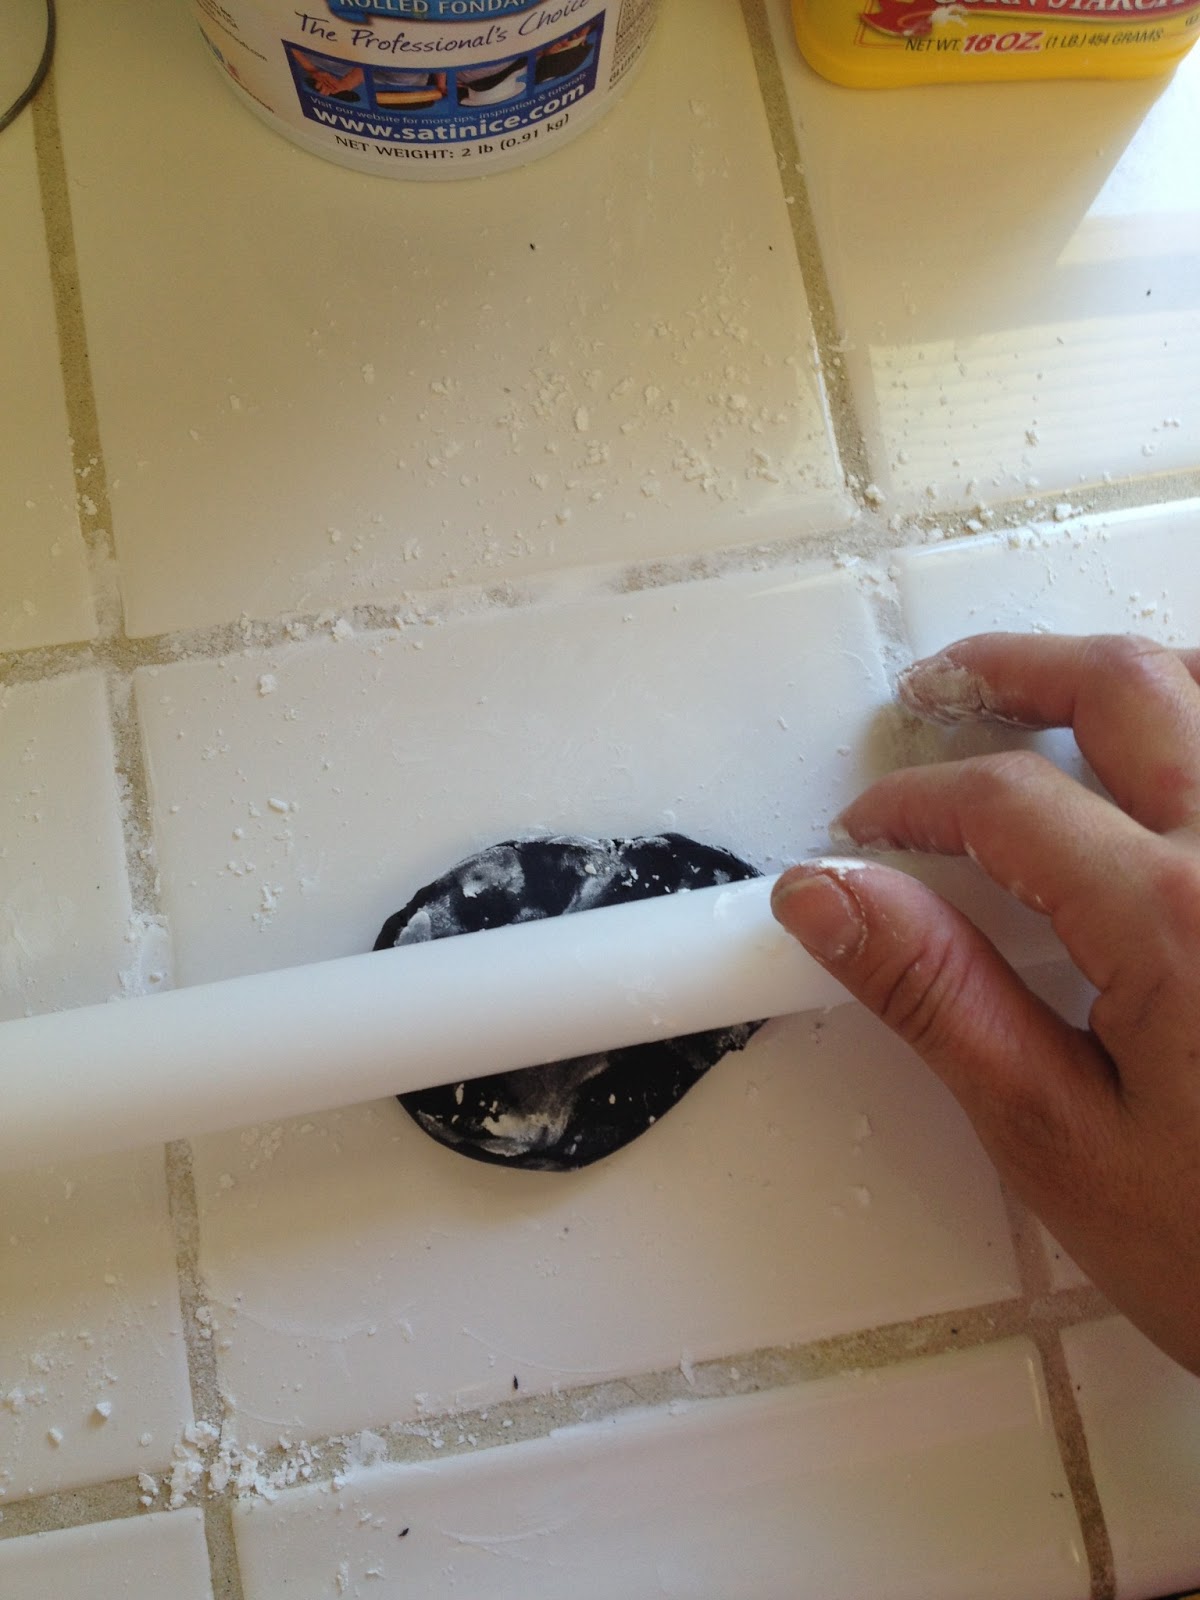
Step 3. Roll out your fondant
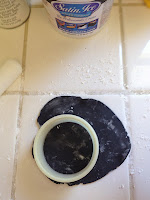
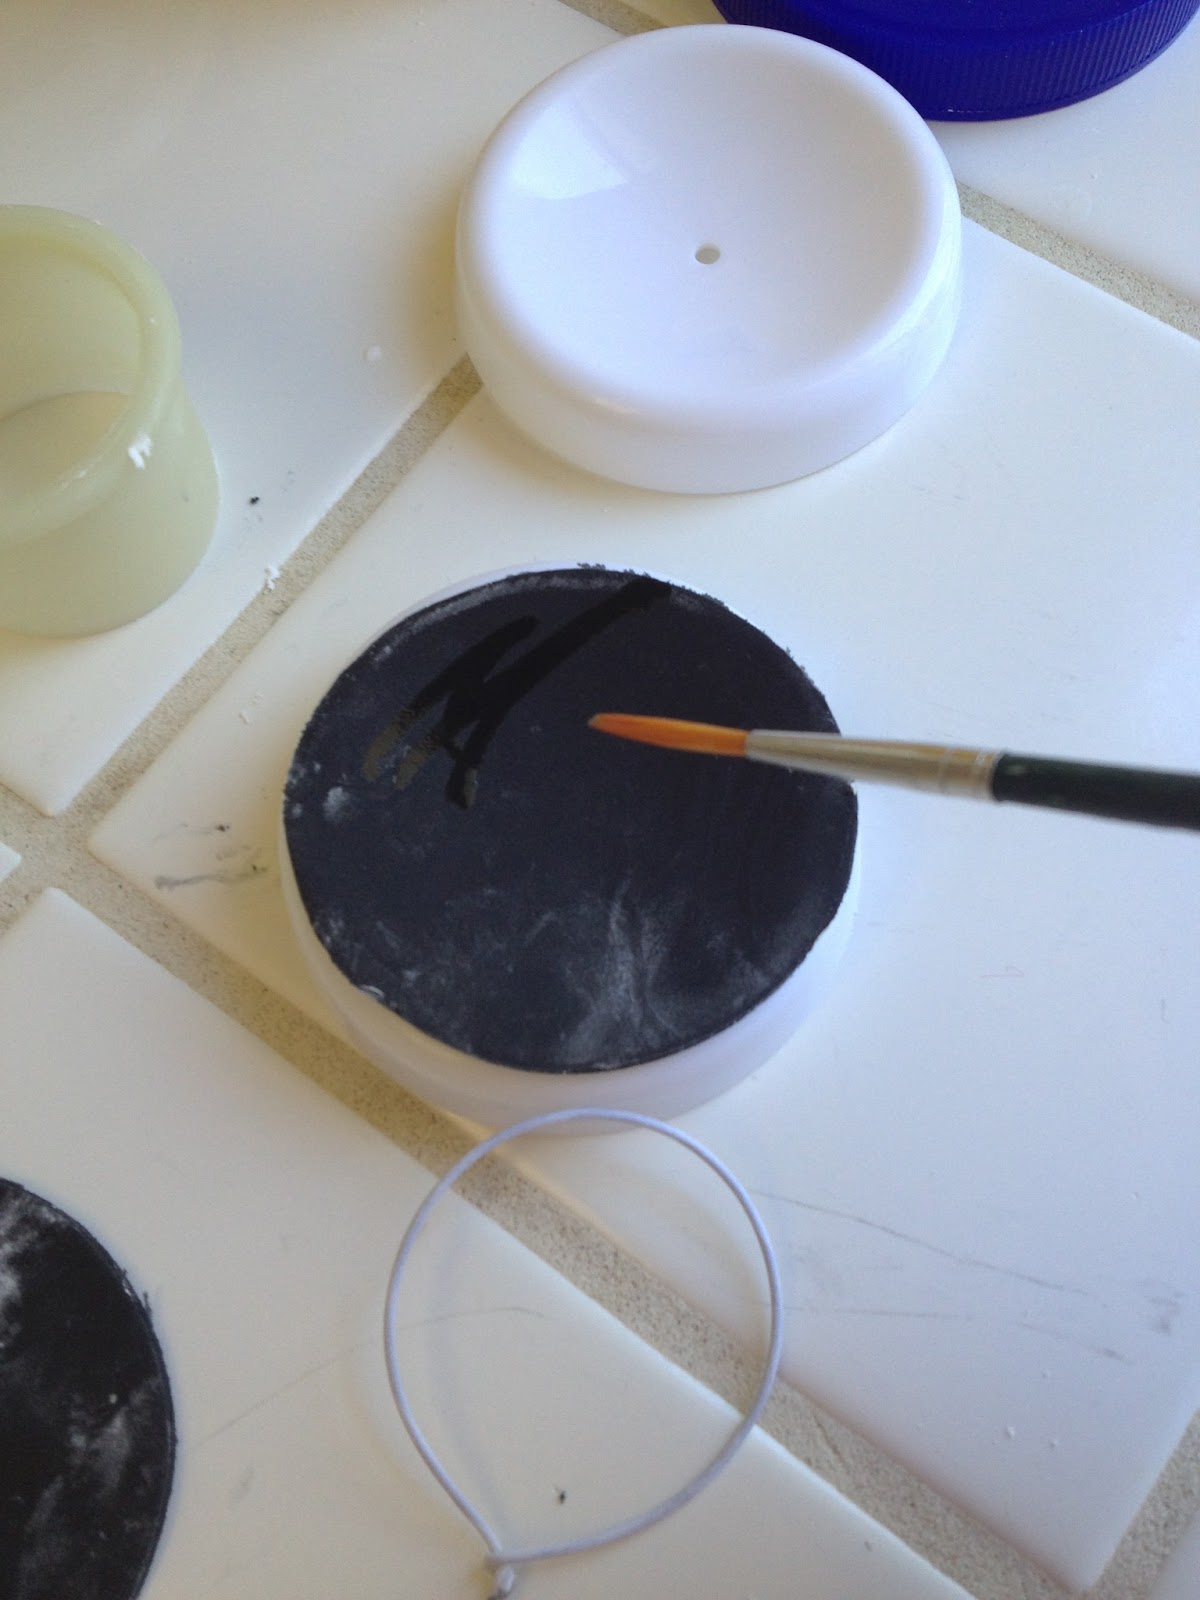
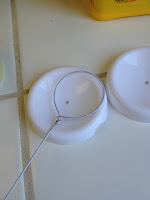
Step 4. Put it together!
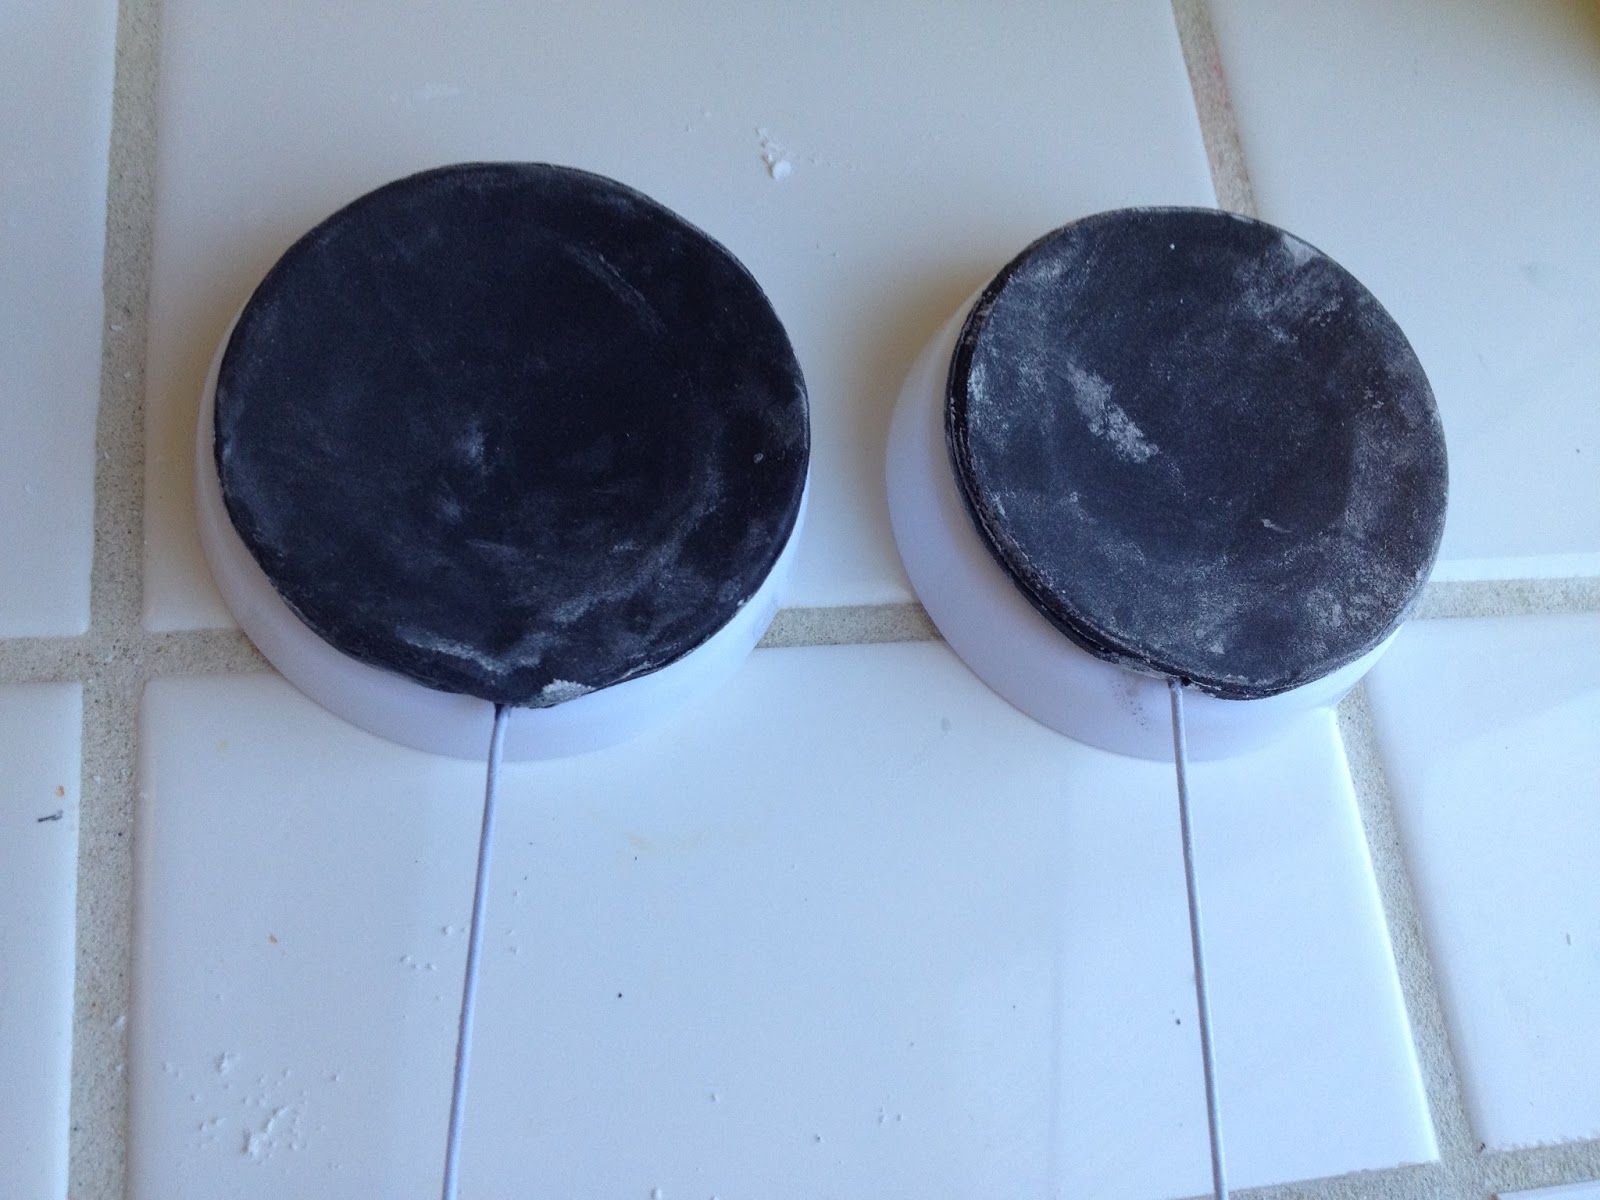
Place one layer on the flower cup and with a paintbrush brush water on the ear. Make sure to paint it completely edges, center, everywhere. Place the ear frame you made inside the ear and press gently. Center another ear piece directly ontop of your wet piece and frame, sandwiching the frame. The water will stick them together and make the frame hold.
Step 5. Final Touches