


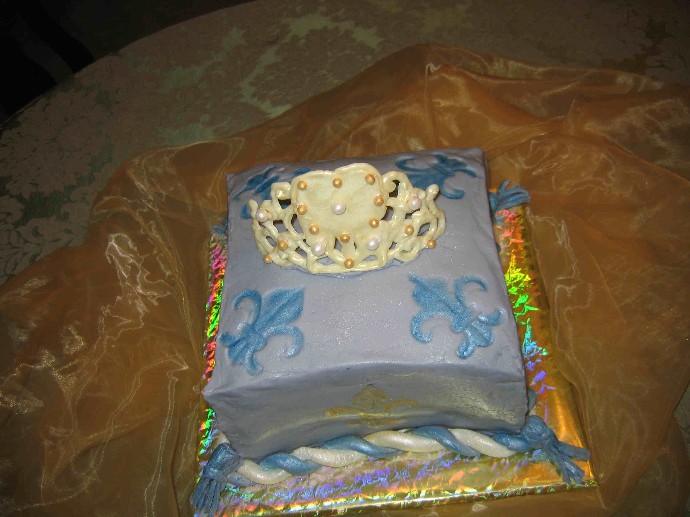
Well, this isn't properly done because I needed to keep the height at the sides to get the amount of servings I needed, so it is two, 2 inch high cakes. You need to sculpt the top sides to get that pillow look otherwise you get a boxy look like mine. Basically you need to freeze your cake to sculpt it. Perhaps using a three inch deep pan is a better bet. Or if you go with two, 2 inch deep pans as I did you need to sculpt a lot off the top edges to get that pillow shape. Basically you are paring down from the centre of your top to make the top sides more shallow. I find it works better on a thinner cake, less waste and all, that is why the 3 inch deep pan would be better for this purpose.
On the sides, you need to cut in, a very slight arched shape, too much and the sides won't look nice. Normally folks add a rope or braid trim of fondant in the side centre, mine is at the bottom because I used marshmallow fondant and it isn't as elastic as regular fondant and it kept wanting to break, ggrrhhh! You just roll two pieces long enough to go all around the diameter of the cake and you twist them together.
Sorry this is one of those things you need to see to understand, likely.

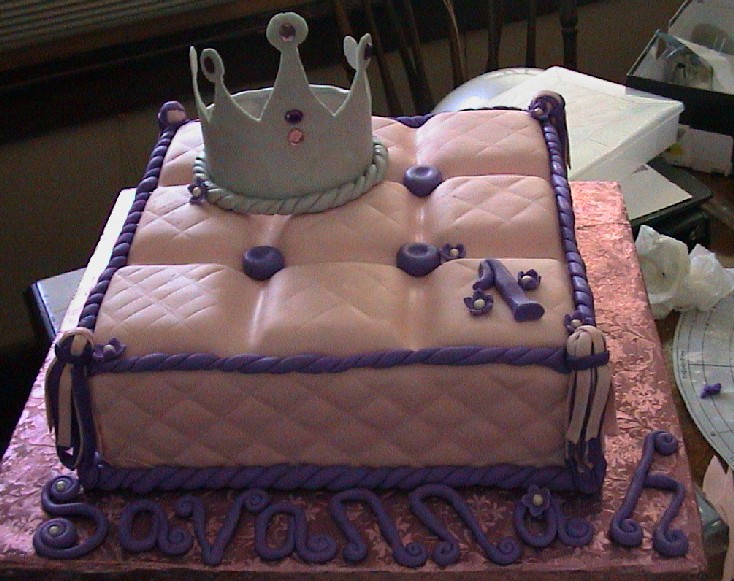
I've done one. I used the 3 inch high cake pans. trimmed the cake after placing in the freezer. (I split the layers for the filling) Covered in MMF and used the wilton fondant cutter to make the quilt pattern. Rolled the MMF out for the ropes and tassels. The pic is under my photos, it was just a practice cake but I got 3 wedding cake orders for that same design on a larger scale from it. you can go to my website at http://cakesbylameeka.com/specialoccasioncakespage2.html the photo is there and a closer view under novelty cakes. Private message me with any questions or e- mail me from the address on the site.

 .
.
Quote by @%username% on %date%
%body%