


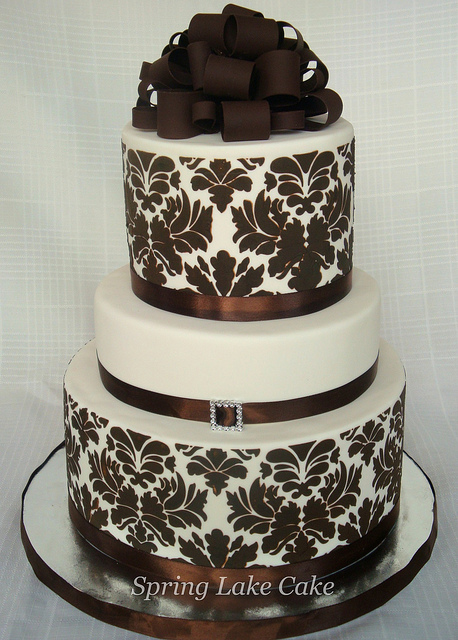
Hi..I am sure this question has been asked before but I have tried searching it but haven't gotten the answer that I want. I want to apply damask pattern to my tier. I know i can cut it very close to the design to get a continuous motion but what if there is a gap of say 3,4 inches left after applying the stencils...Do i just move that to the back and let it be there or do i fill out the gap somehow ?
Hope that makes sense ![]() looking forward to all the help I can get.
looking forward to all the help I can get.
Thanks!
Chill your cake well to harden the frosting. Lay your stencil on the side of the cake and try to gauge where your stencil will begin and end. This way you can adjust your stencil a little. You could mark the beginning and end with a small poke of a tooth pick. I plan on using a stencil or silicone mold and Sugarveil for a large cake I am making in a couple of months. I have to make ten cakes so I want the decorations to be done ahead of time for easy assembly. Once Sugarveil has dried it can be placed on your cake. Checkout their videos. You don't have to buy the entire Sugarveil set you can use stencils, molds and even hand pipe with a cake decorating bag and cake tips.
Thank you for the information. I actually plan on using RI since i have used it before but to apply the logs but the entire pattern in continuation.This one is what I am using...Is there normally a gap at the back?or do you just use a part of the stencil to fill that gap? How does it not damage the stenciling that has been applied earlier...
Thanks!

I generally fill in at the back, matching up at least one edge with what's already there. But I definitely make sure that the filled in part is at the back, since it often looks a little strange (I finally figured this out after doing it wrong once!).

I have has this problem. but found that a gap is not appealing.
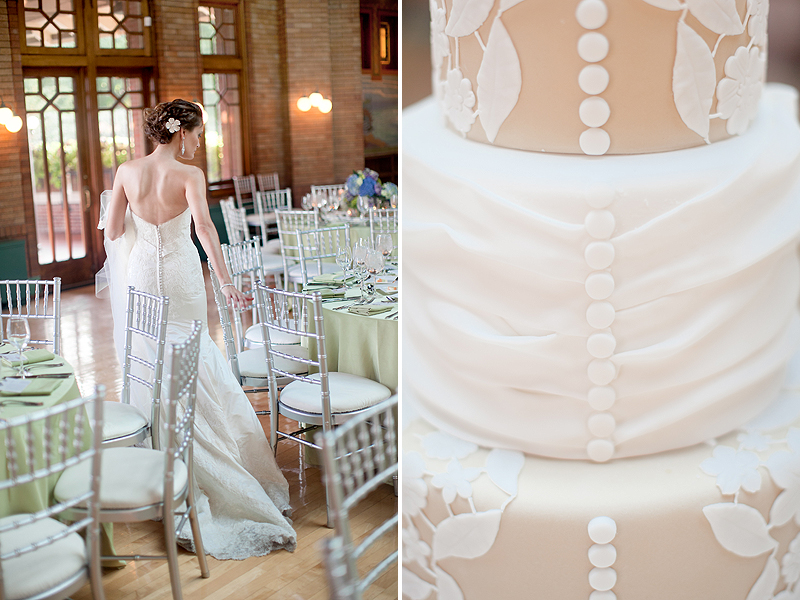
Instead I try to put some sort of "end of design" piece in the back. Something simple like dots or another pattern to match your cake or ribbon designs. Like the picture (not my cake) that I have attached

when i have a gap to fill in or just in continuing the pattern on a large tier, I wait for the applied RI to harden and then go back to continue. It doesn't take long at all for it to set and not smear for the next go-around.
That's a very lovely idea, Lynne3! I think I'll see what I can do along those lines next time I use a stencil. Like lorieleann, I always let my RI harden before I add to the stenciled part. Otherwise the already stenciled part would just go all over the cake. I've also stenciled in airbrush paint (well, Color Mist, actually, because I've been too chicken to start using my airbrush, and won't really have the space to experiment for a few months yet), but that also dries really fast. I've never tried doing it with buttercream, because no matter how much a recipe says it will crust, in my icky-sticky climate, it won't. Hope you find a solution to this that makes you happy!
Quote by @%username% on %date%
%body%