


Hi all,
I use JEM alphabet set to make something like this:
http://2.bp.blogspot.com/_hiauSkq4w9I/THTK9nV9Q3I/AAAAAAAAHRc/o5flHGKMmAM/s1600/029.JPG
But when I tried to cut out the letters from the coloured fondant they are sooo thin and I can't give the same effect in the picture. Any ideas about doing this with an easy way?

It looks to me as if they embossed the cookie. What I mean is cut out the circle of fondant the same size as the cookie, put it onto the cookie, then press the letters into the fondant but not all the way through. Then paint the color on with food color or powder.
Practice pressing the letters into the fondant that is going onto the cookie. Until you get the right pressure.
Oh yes I need to practice more. I search the other pictures of that site and I found this:
http://3.bp.blogspot.com/_hiauSkq4w9I/S56PgB_mfGI/AAAAAAAAGbQ/DCMivbfNqKs/s1600-h/batur1.JPG
So those different colored letters are definitely came out from fondant, not painted.
Wow those are great looking cookies. I still think that they are embossed, but I am not sure. I am going to try it, I dont have letters but I will try with flowers. Sorry I could not help. I did not mean to suggest you need practise. Just to try different pressures until you get the look you want.

it looks like they embossed the fondant and cut out the letter separately and then put it in the same place

Nice effect, very nicely done!
I've done something with letter frames to be placed "floating" on a cake that seems to me quite similar.
If so, letters are cut and let dry for a day.
Proceed working the area that will "receive" the pre-cuts, once this area is colored, embossed or whatever technique you'll use just make sure fondant remains soft
Push the letters softly half way it thickness on place
Some of the letters will stick by themselves while others may need to be brushed in the back with a little water to adhere.
Hope it helps ![]()
Shepsit - is this the set you are using?
http://www.makeawishcakeshop.co.uk/onlineshop/Details.asp?ProductID=1147
Bluehue
Thank you so much drakegore and what_a_cake, as you both said I believe I have to cut the letters and let them dry for couple of hours. I'll try to do like this next time. Thanks for your suggestions.
Bluehue, yes, that's the alphabet set that I have.
Shepsit, well I can say that I was 100% wrong. I tried to emboss and paint. Unless a person has a super steady hand it just did not work and acheive the look you wanted. The colors did not turn out solid either. So it did not look anything like the cookies you are trying to do. Sorry for the mis-information.

its actually very easy to do, but you need a special roller pad. you can also substitute by making small holes in a dummy and placing the cutters in there
http://www.jemcutters.co.za/html/tools_3.html
the cutters goes into the holes at the side upside down (thats why they have those little tabs at the back). You then place the rolled out paste (for instance red) on top of the letters and roll it out. Then take away the exess paste, use a pin to take away any bits you dont want. You can make ea letter a different colour. Each cutter will now be filled with the paste. You take a different colour paste (say blue) and roll it over the cutters. This is you back ground. You flip the pad over and push the letters out. If you gently pull the cutter away you will have a blue background with the red letters embossed. You then trim the background to the shape and size you want.
this is a cake I did that way over Christmas ( the merry xmas plaque)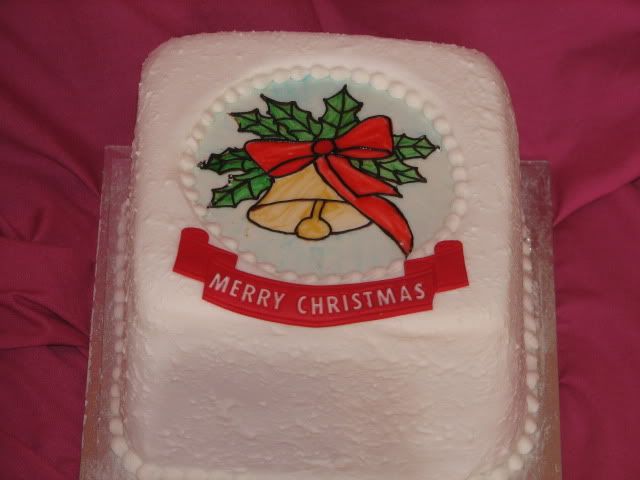
Hope this helps!
Quote by @%username% on %date%
%body%