


Need Help With Pictures Asap!!
Business By amazinggracecakedesigns Updated 16 Nov 2008 , 2:44am by cylstrial

Hi Everybody,
I read a post several months ago about how to do professional looking photographs of cakes. I don't even know where to look or how to search for that topic. I received some negative feedback from someone about not having professional looking pictures of my product. They also put down our website and called me "glorified homemade" and not professional. Up until that time, I considered our website okay, especially for someone who had never put one together before. Anyway, I was wondering if any of you have backgrounds that you set up to take pictures of your cakes to make them look more professional. I need pointers on how to do this if anyone has any suggestions!

Is this the tutorial you were thinking of?
http://www.cakedalaska.com/Caked_Alaska/Photo_tutorial.html
I looked at your website and I don't think your website is bad. The person who said that was being pretty mean. I know that I went out and purchased a few yards of inexpensive fabric and I have two little hooks on the wall behind my table so I hang it on those and drape it over the table so that all my pictures have just a plain fabric background. That keeps people from having to see my kitchen in the background of all of my pictures. ![]() I hope that helps.
I hope that helps.

Hi, I don't think I read your original post but it sounds like the responses were unnecessarily harsh!
Some pointers to a great photo...
-Make sure you have enough lighting, but no too much. (Bright but not blinding sunlight)
-Make sure you aren't too close (that makes it blurry) and make sure you aren't too far away. 3-5 feet is ideal
- Keep the camera as still as possible; make sure the object is focused and centered
-Take more than one shot and different angles. I usually do 10 shots to get that one "perfect" photo for my website. This is what is so great about digital camera, you don't waste film.
-have a clutter free background; or take the photo on site with the event background; or keep a plain tablecloth and use that as your background
-Photo editing software is your friend. You can crop, adjust the colors, resize the images, etc. Photos usually need to be reduced for the web so they load faster. Most sites like flickr, snapfish, kodak have these tools for free.
The camera itself doesn't really matter...it helps, but if you don't have the fundamental elements that make a great photo, you will still have a bad photo. Some of my best photos EVER have come from my camera phone. Those are notoriously bad cameras lol.
Oh mah lord!!! I looked at your pictures and 1) I've used one of your cakes as inspiration for a cake for my son, 2) "homemade" is what we strive for our cakes to taste like, and 3) what a royal biatch!!!

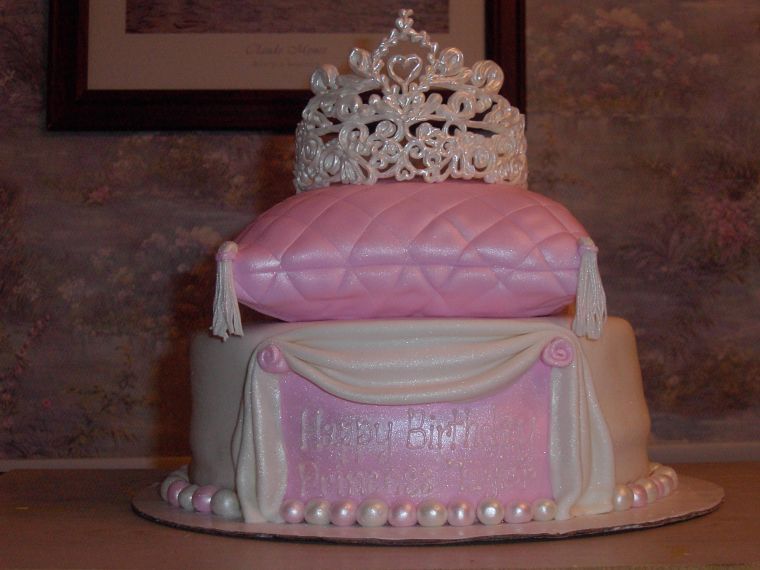
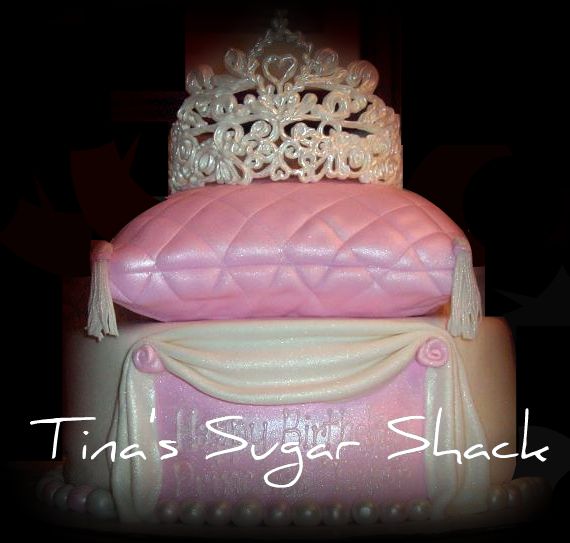
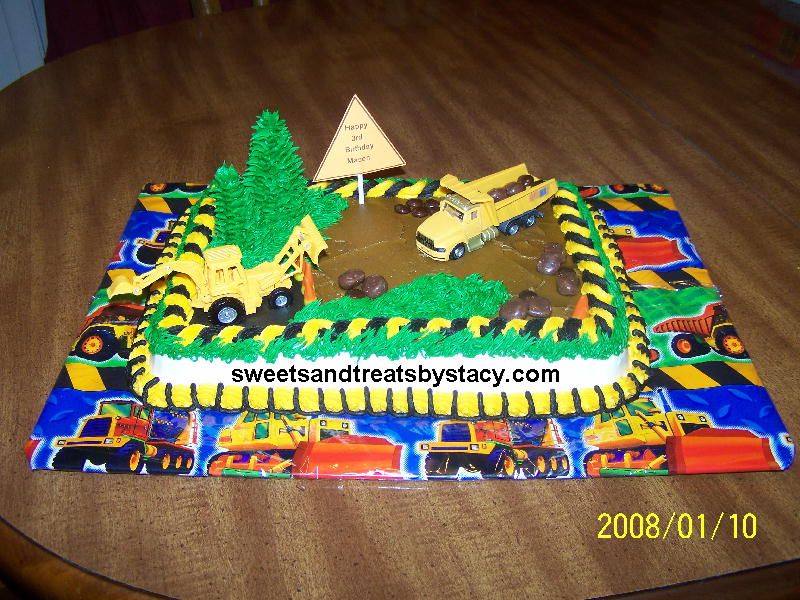
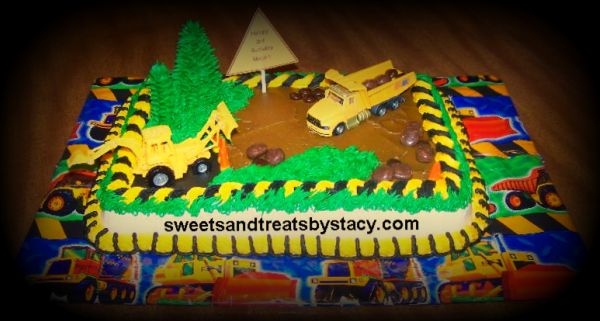
you might also try editing the backgrounds out of your photos. I'm notorious for finishing cakes at 4 am and I'm just lucky I get a picture let alone one without piping bags and junk all over the counter here is an example of one of my cakes with an altered photo and the original

stacy your website is cute and I like it, that person that wrote that is just a mean person. Forget about them. Person who wrote that is just someone who has too much time on their hands and probably would take candy from a baby![]() Im here in kentucky also, based out of louisville. I have been thinking of making a photo box to take my pics in that way I can hang up different back drops. Good luck
Im here in kentucky also, based out of louisville. I have been thinking of making a photo box to take my pics in that way I can hang up different back drops. Good luck
cherie'
Thanks everyone!!! I can always depend on my friends at CC to help make me feel better!! Thanks for all the pointers. jjkarm, that is the tutorial that I had seen before. Also, KHalstead, how did you take out the background in my picture? I am going to start doing something different with my new photos but if I can fix my old ones the way you did, that would be great!!
all I did was upload your photo to www.picnik.com and then cropped the image then it basically zooms in on what's left in the photo, then I hit create and clicked on an effect called vignette or something like that which puts the black around the picture and I find it really hides the backgrounds, you can lighten or darken the band or even make it colored if you wanted to, I also changed the color saturation because it looked like it was a little flashy from the camera....in all I think it took me like 15 seconds start to finish lol

Quote by @%username% on %date%
%body%