

Can someone give me tips on how to bake in the real terra cotta flower pots? I am baking cakes for a mother/daughter tea on May 3rd and I'd like to place maybe four of these cakes on the dessert table. How do I grease the inside without the oil baking away into the pot? I want to be able to remove the cakes from the pots, cover them with icing and then decorate. I know to plug the drainage hole but is there something special to greasing/flouring the inside of the pots? I also assume that I would need to bake something the texture of a pound cake in order to hold up. How long, what temperature, etc, any tips you can share would be appreciated. Thanks!

This is what I did for the flower pot cake:
I bought a flower pot at AC Moore, one that had been glazed, to bake the cake, which avoided the dreaded 3D carving. I didn't use the plain type of pot, without glaze, because I was unsure as to what temperature that could withstand. I know that a glazed pot has been placed in a kiln at a very, very high temp to bake on the enamel, or whatever the covering is made of.
So, I took the 4" pot (although you could use any size) and sprayed Pam inside. I covered the drain hole with aluminum foil and placed a flower nail in the center of the pot (to help bake the center of the cake).
Then I poured in the cake batter to a 3/4 level. I think it took about 55 minutes at 325 degrees. It was done with the sides pulled away from the pot and a wooden skewer came out with just a few crumbs on it.
I let it cool for a half hour in the fridge, ran a offset spatula around the sides, and it popped right out. I removed the flower nail from the bottom.
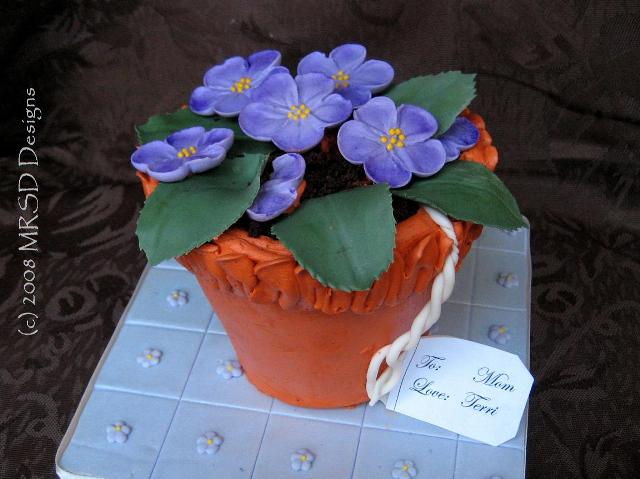
After I chilled it for another hour, I then torted it into three horizontal sections (so that they stacked back on top of each other after I spread a bit of buttercream between the layers). I crumb coated with IMBC, stuck a short dowel in the center for vertical support, and chilled again for 10 minutes to firm it up. I covered the outside with crusting buttercream (sugarshack's recipe for smoothness) for the terra cotta color.
I used Oreo cookie crumbs for the dirt (you can also use choco graham crackers or any dark brown cookie or cake crumbs).
Remember, as with any 3D cake, you need to keep it chilled so that it won't crumble!! I also use the 3D sturdy cake recipe, which is delicious and moist. It really is a sturdy cake -- let me know if you need the recipe.
Good luck and please feel free to PM with any questions. Here's the cake:
Here is a link for you http://www.foundationtv.co.uk/f-tips/flowerpotcookery.html
I hope it helps.

Try this:
Obtain a new, clean, 5â or 6â clay flower plot. Wash and dry. Cut a double-thick circle of foil for bottom of pot, then line sides of pot with single layer of foil, pressing against sides firmly. Spray with baking spray and dust all lightly with flour before adding cake batter. Bake 40-45 minutes or until cake touched lightly springs back. Cool in pot ten minutes, then turn out onto rack widest side down and cool thoroughly. Meanwhile, wash out pot. When pot is dry, again line the bottom with a double thickness of foil cut to fit. I use a pound cake or dense chocolate cake. HTH!
Quote by @%username% on %date%
%body%