

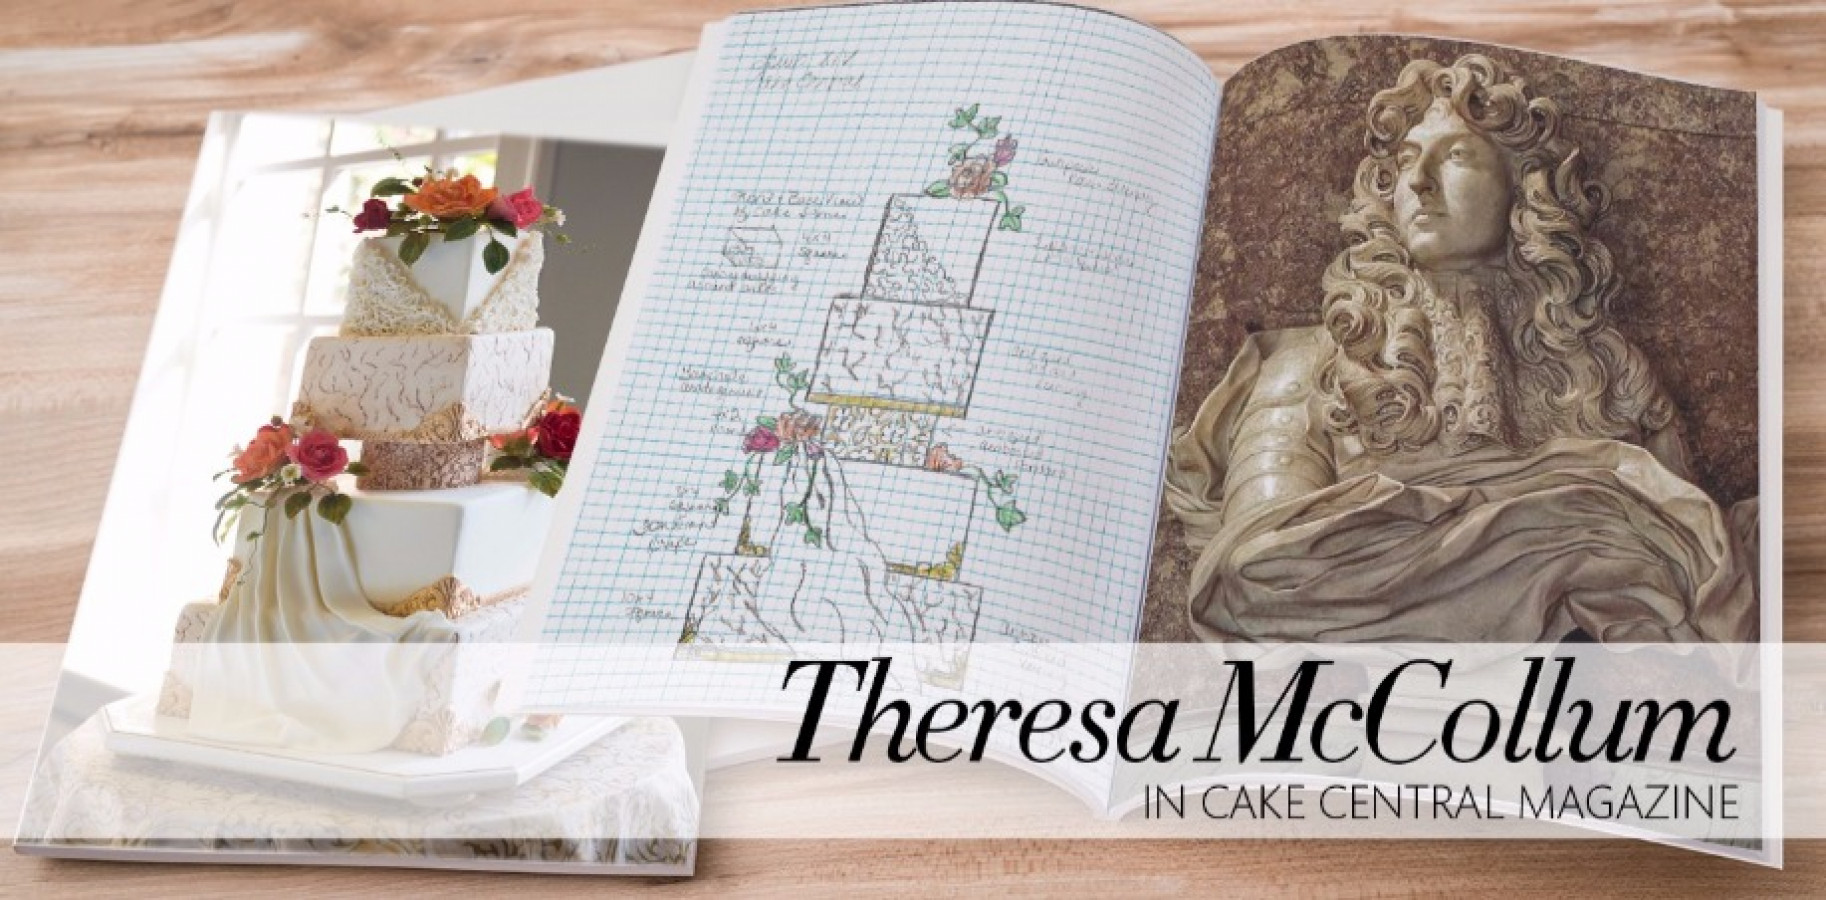
Sketch to Cake: Theresa McCollum’s Wedding Cake Inspired By Bernini’s Bust of Louis XIV
Theresa McCollum
in Florence, SC created a classic, square tiered wedding cake for the Bernini issue of Cake Central Magazine Volume 8 Issue 1. Theresa’s flowing, fabric fondant and gold wedding cake was inspired by Gian Lorenzo Bernini's Bust of Louis XIV.

The first thing that stood out on the Louis XIV bust photo was his mane of curls, there were plenty of them. I knew whatever design I came up with, those curls had to be incorporated.
While the curls were heavy, the draping fabric on the bust felt light and airy.


You could almost feel the wind blowing through it. The necktie on the bust with the floral print could have easily been missed, but the detail of that fabric caught my eye.
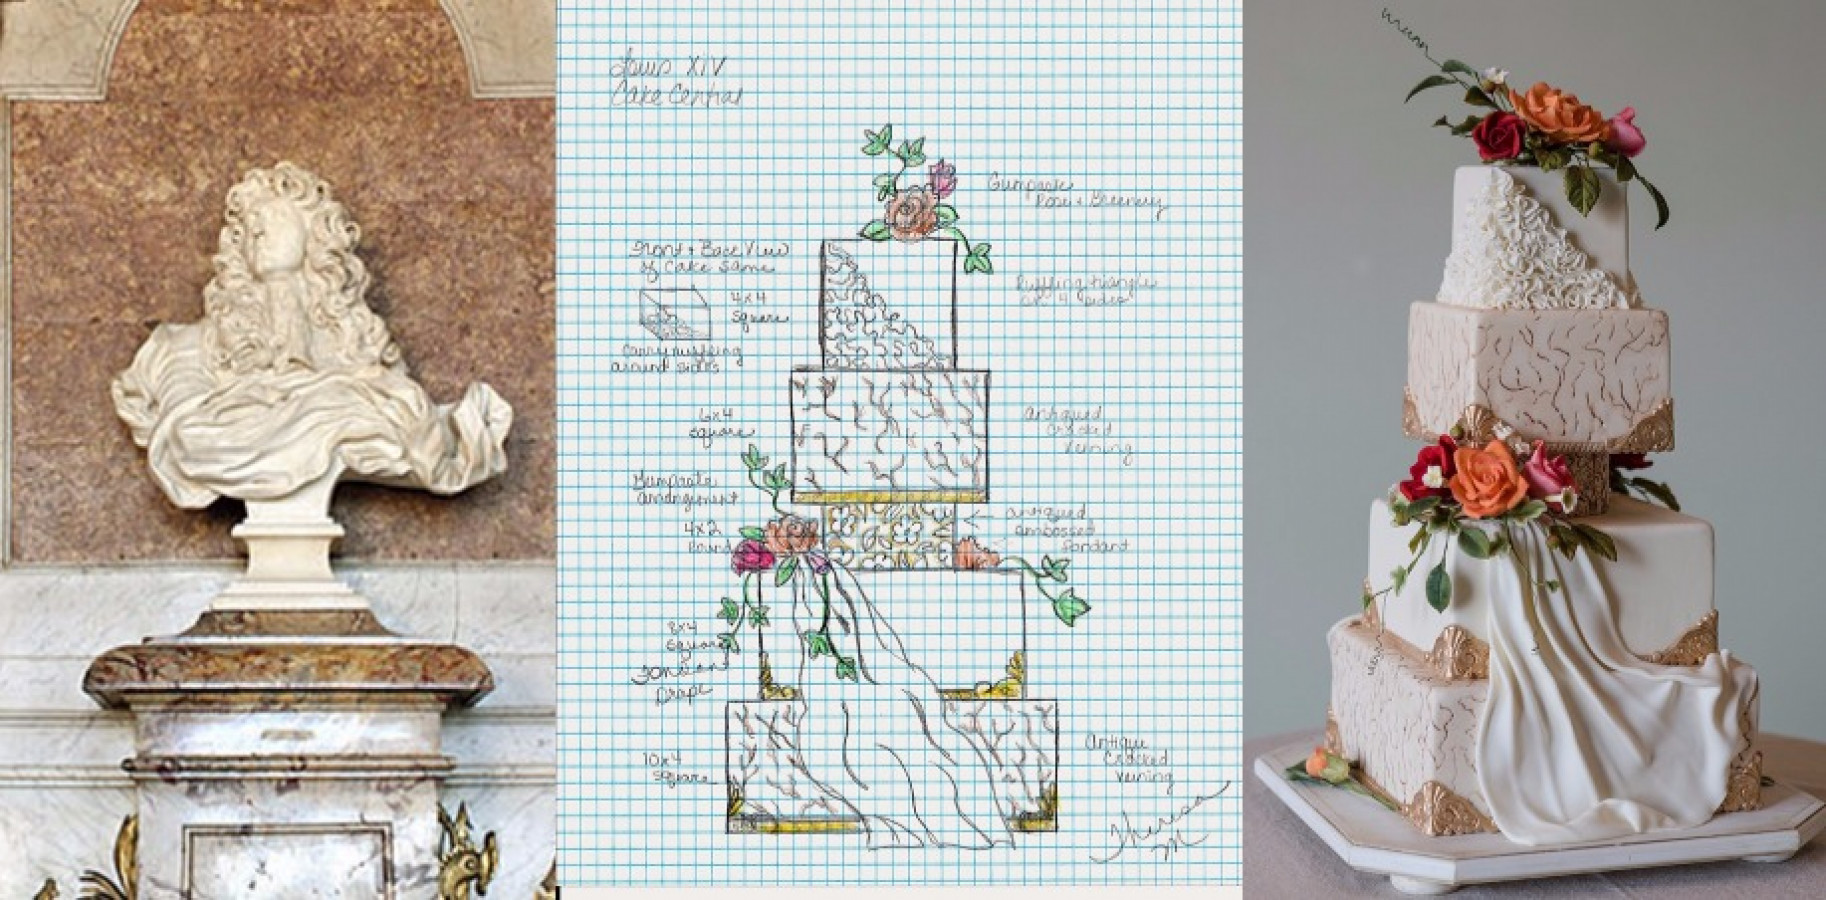
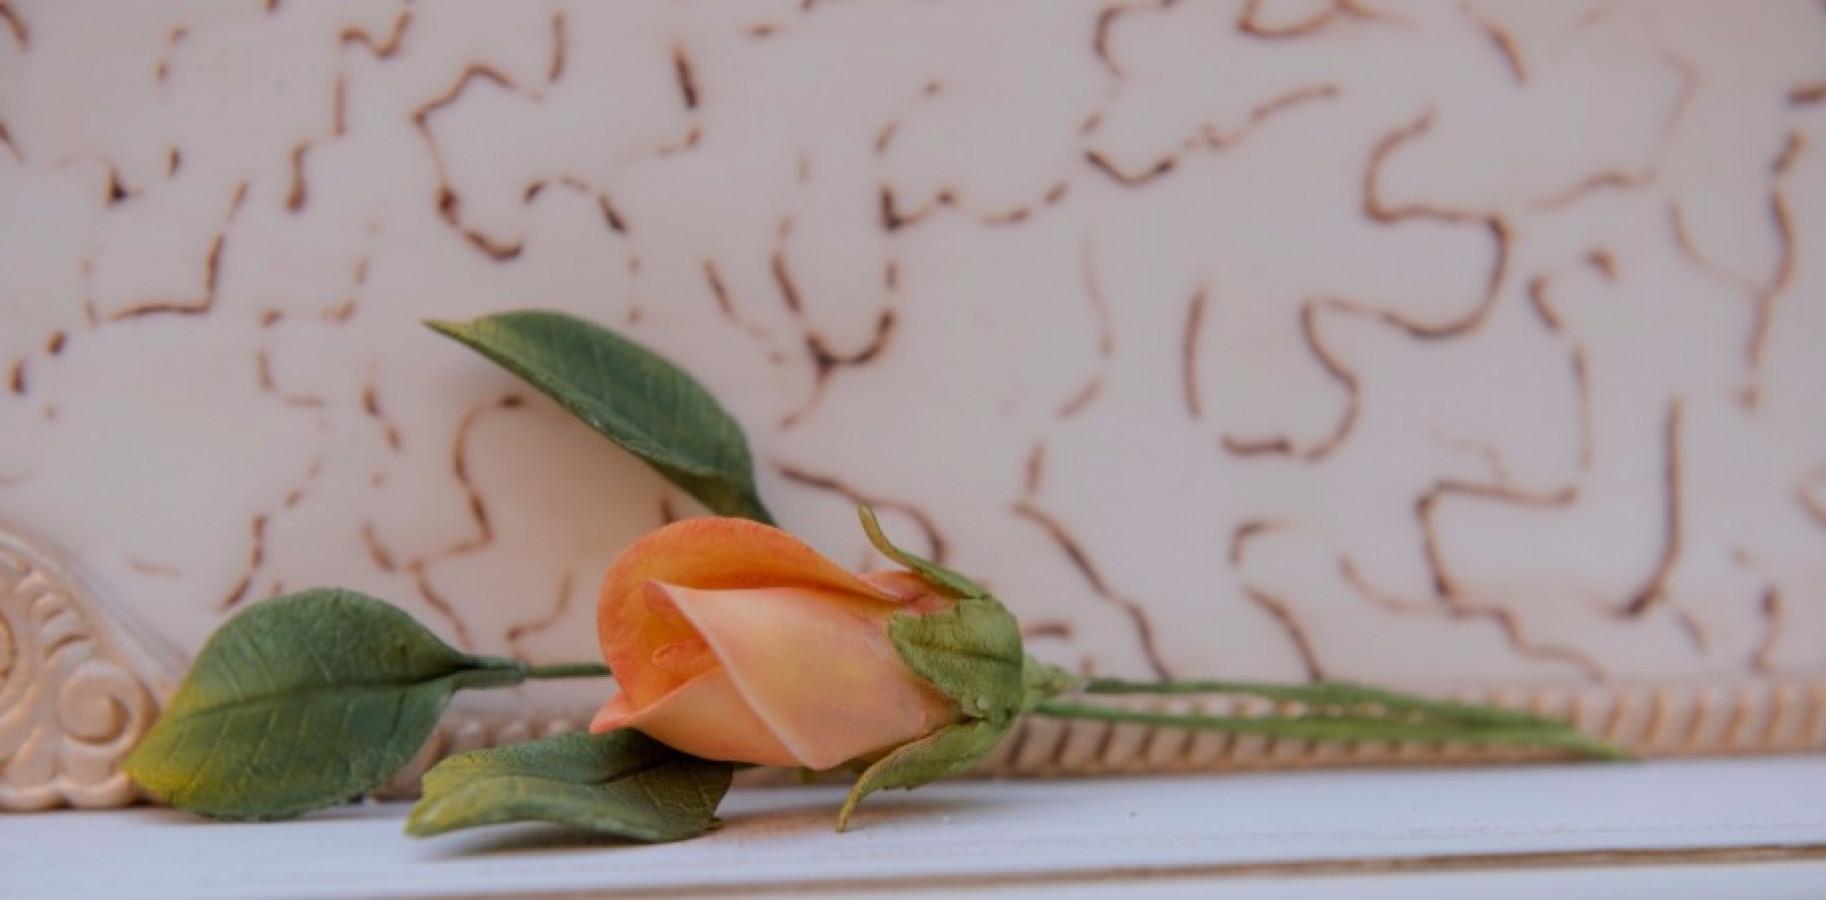
Being a masculine statue, I almost immediately began to think the cake needed to be square. I gathered my cake dummies and began playing with the shape. I tried the tapered ones, round with the square ones, alternating different placements, but ultimately stayed with all square except for a smaller round in the middle of the cake. After feeling satisfied with the shape, I began to draw the sketch. In order to obtain the airiness of the fabric I knew it needed to cover part of two of the cakes. I wanted dark, rich Roses and gold accents to represent royalty.
On this and any other of my sketches, I try to stay as close to the drawing as I can. I prepare a sketch for every cake I make, even the ones I make for my grandchildren. The sketch helps you plan your time. It can serve as a reminder of certain details. Another important reason, it is the design you showed your customer. It is the design they approved, so unless something just does not work out or the overall finished product is hindered in some way, what you see on paper is very, very close to what you get.
I did not have to compromise anything with this cake. The only change I made was the corner pieces were added to the second tier from the top. I did not include those on my drawing, but the cake looked more cohesive with them than without.


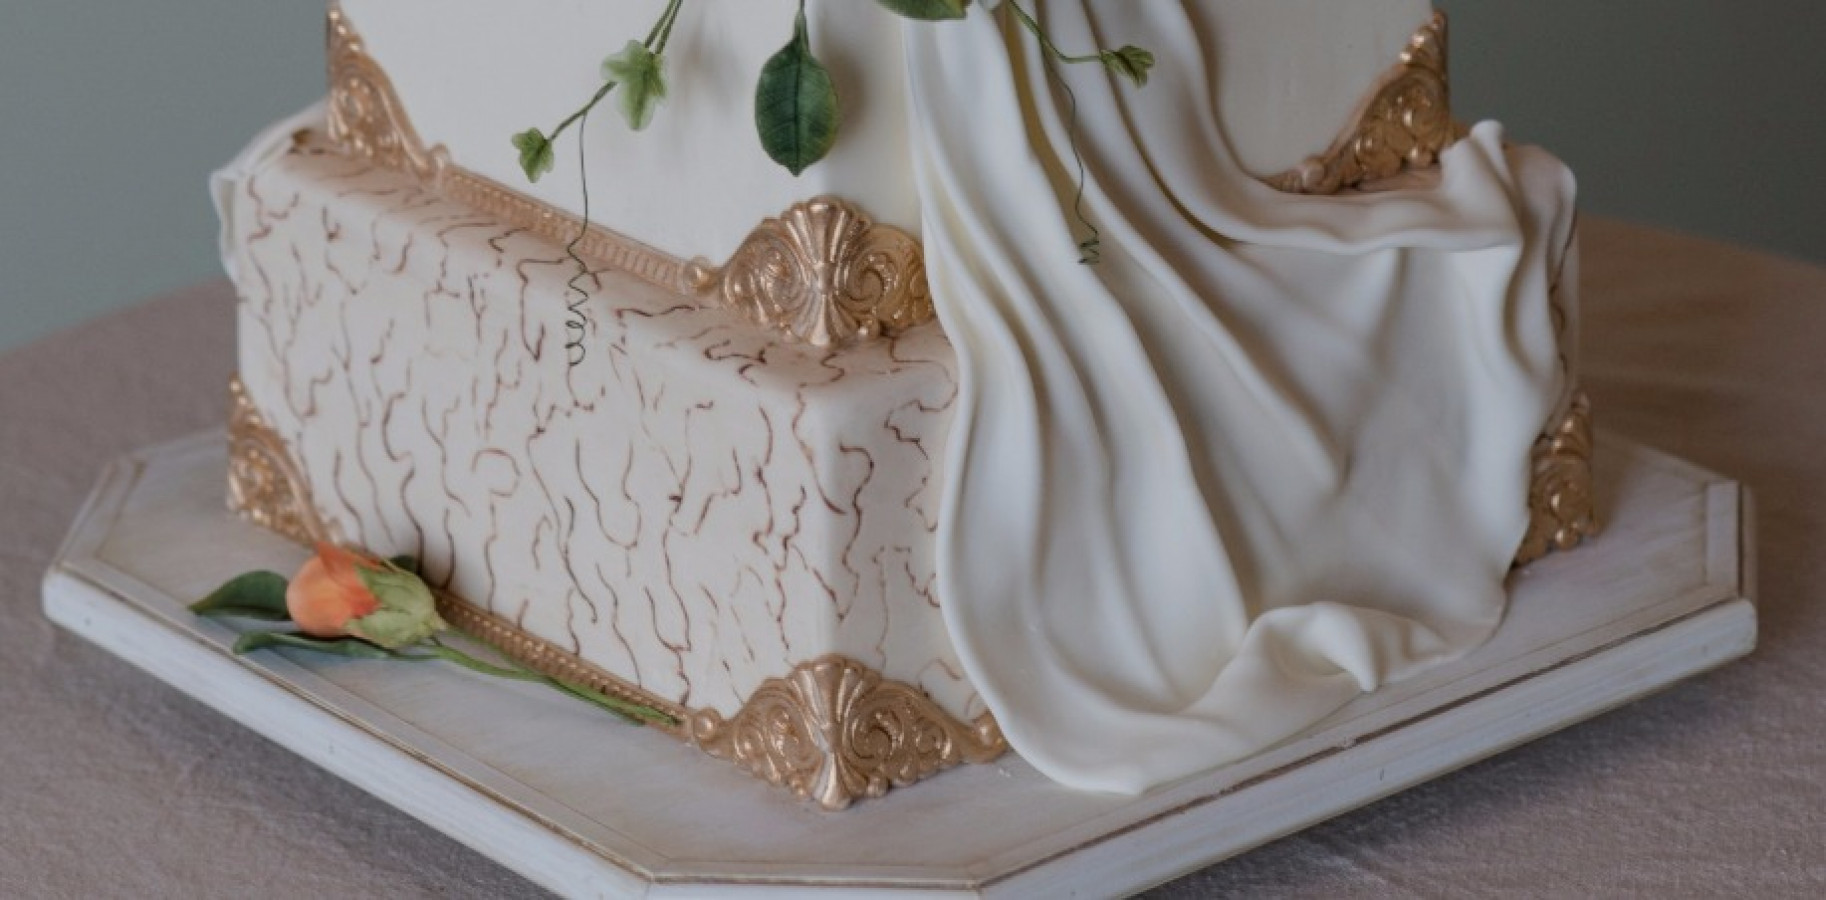
The first process for me in any of my cakes is making the flowers and giving them time to dry. I do not like to rush this process if I can help it. After covering the cake with fondant, I worked on the draping, crackling, and crunches for the top tier, then moved on to the gold trim accents.

The top tier of this cake was the tier that represented the hair. The “scrunchies,” as I call them, were made by cutting circles, folding them in half, scrunching them up, then attaching them closely together to the side of the cake with gum glue. The gold corner trim pieces were made from a mold I made. I used a floral impression mat to imprint the round divider in the center of the cake and antiqued it for the detail to show up more. The draping fondant had to be rolled fairly thin to make it look more like the fabric on the bust.
I became excited about making this cake the moment I saw the inspiration photos. I love this cake. This was a fairly simple cake to make. The color combination of the Roses was one I had wanted to do for some time. It is a combination I am sure I will do again.


Comments
No Comments Yet